Our Top Picks
 SKIL 5” Random Orbital Sander with Cyclonic Dust5 inches7.87 x 4.8 x 5.51 inches3.44 poundsCheck on Amazon


What's inside
As an Amazon Associate I earn from qualifying purchases. This post may contain affiliate links at no extra cost to you.
People email me asking what to buy first, and the honest answer is: less than you think, better than you’d expect. Every tool below has been on my bench for years. Buy them in this order and you’ll be building real projects fast, without a drawer full of impulse buys.
I did it backwards. My first serious purchase was a big machine I’d seen in a magazine, and it sat under a bedsheet for most of a year while I ripped plywood on sawhorses with a borrowed saw and no straightedge. Everything I actually finished that year got built with about four tools. The rest was storage.
As an Amazon Associate we earn from qualifying purchases at no extra cost to you.


Here’s the part nobody tells you: the order matters more than the brand. Each tool below unlocks a whole category of work, so every purchase gets used the week it arrives instead of waiting for a skill you haven’t built yet. That’s the real trap in a beginner’s shop — not cheap tools, but capability you can’t use.
How I’d weigh the money
Three rules keep me from wasting it. Spend on the part that touches the wood — blades, bits, abrasives and layout tools decide how your work looks, while the plastic housing around a motor mostly doesn’t. Buy accuracy you can’t add later; you can work around a weak motor with a slower feed, but you cannot work around a square that isn’t square. And count the consumables before you count the features, because a tool whose discs or blades nobody stocks is a tool you’ll quietly stop using.
1. A cordless drill/driver
Non-negotiable. It’s the tool you’ll touch every single session. Get a decent brushless 12V or 18V and you’re set for a decade.
What separates a good one from a bad one at any price is the clutch, the chuck and the batteries. A clutch that slips at the same setting every time is what stops you snapping screws off in hardwood; a vague one is a coin flip. A metal-jawed keyless chuck grips a bit straight and stays tight, where the cheapest chucks let bits wander and drill sloppy, oversized holes. And you’re not really buying a drill, you’re buying into a battery platform — every cordless tool you add later gets rented from that same brand, so pick a system with a wide, boring range rather than one flashy tool.
12V suits furniture, cabinets and overhead or one-handed work; it’s lighter, and lighter means you use it. Go 18V if decks, framing, big hole saws or mixing paddles are in your future. Skip this purchase entirely if you already own a platform that works — buy a spare battery instead.
DeWalt 12V Drill/Driver
Light, reliable, cheap enough to be your daily driver. Start here.
2. A circular saw + a straightedge
Before you dream about a table saw, a circular saw riding a clamped straightedge breaks down full sheets of plywood better than most beginners’ table saws. It’s the single highest-leverage cutting tool for the money.
Judge one by its shoe, not its horsepower. A thick, flat base plate that won’t flex under hand pressure is the difference between a square cut and a wandering one, and a stamped shoe you can twist with your fingers will haunt every joint you cut. After that: a bevel lock you can reach, detents you trust, and a guard that retracts smoothly instead of snagging. Then set the included blade aside. It’s usually a coarse framing blade, and a higher-tooth-count blade meant for sheet goods costs a fraction of the saw while improving it more than a bigger motor would.
Two habits save beginners here. Support the whole sheet on foam or scrap so the offcut can’t pinch the blade and kick back, and set the depth so the teeth just clear the underside. Circular saw teeth cut upward, so tearout lands on the top face — put your good face down. Finally, the blade sits to one side of your guide: measure that offset once, write it on the guide, and stop guessing. If a lumberyard cuts your sheets and you only build small pieces from dimensioned stock, this is the one purchase you can delay.
3. A random orbit sander
Hand sanding a whole tabletop will end your love of woodworking. A 5″ random orbit sander is the fix. I wrote a whole long-term review of a budget one here — you don’t need to spend much.
Check three things. Does the dust port fit a hose or shop-vac adapter you can actually buy? Are discs in that hole pattern stocked everywhere? And how does it feel after ten minutes, not ten seconds — vibration is the reason cheap sanders end up in a cupboard. Variable speed earns its place on finishes and painted work, and a pad brake keeps the disc from spinning up freely and gouging a panel the moment it lands.
The rest is technique. Don’t lean on it; let the weight of the tool work, or you’ll clog the paper and burn in swirl marks. Don’t skip grits, because jumping straight to fine paper only polishes the scratches left by the coarse one. And go gently on plywood edges and veneer, where a few extra seconds sands straight through.
5-inch Random Orbit Sander
Saves your hands and your weekends. Get the one with a good dust port.
4. A set of parallel clamps
You will never regret owning more clamps. Start with four and build from there. They’re the “extra hands” every glue-up needs.
Parallel clamps earn their price by keeping their jaws parallel under load, which pulls a panel flat instead of bowing it into a banana. Look for smooth threads, deep throats, and replaceable pads for when glue wrecks them; being able to stand a clamp on its foot while you place a panel matters more than any spec. The mistake is using pressure to fix a bad joint — if you have to crank hard to close a gap, the joint is fighting you and it will spring later. Clamp to hold, not to force. If you only build small boxes, buy F-style clamps first and come back to these.
5. A combination square
Cheap layout tools cost you accuracy on every cut. A quality 6″ or 12″ combination square is a tool you buy once.
Test any square before you trust it: hold the head against a known-straight edge, scribe a line along the blade, then flip the head to the other side and scribe again. If the two lines don’t land on top of each other, the square is out — and so is every joint you lay out with it. Beyond that you want an etched blade you can still read under dust, a head that sits flat with no rock, and a lock that clamps without nudging the blade. The 12″ does more; the 6″ lives in your apron and gets used ten times as often.
6. A block plane
For chamfering edges, trimming proud joinery, and a hundred little fixes, a sharp block plane does what no power tool can. It’s the tool that makes work look finished.
The word doing the work there is “sharp.” A block plane is really two purchases — the plane and the means to sharpen it — and skipping the second is why so many beginners decide hand tools aren’t for them. Stones or sandpaper on glass plus a honing guide is enough. In the plane, look for a flat sole, a thick blade that doesn’t chatter, and an adjustable mouth you can close down for end grain. Low-angle versions shine on end grain and figured wood; standard angles are fine for general work. If you know you’ll never sharpen anything, be honest with yourself and put the money into clamps.
7. A brad-point & driver bit set
The unglamorous one that makes everything else work. Good bits drill clean and drive without stripping.
Brad-point bits have a center spur, so the hole starts exactly where you marked and exits with clean edges instead of a torn crater. On the driving side, match the bit to the fastener properly — right type, right size, not “close enough” — because most stripped screws begin with a worn or loose tip camming out under load. If an impact driver is in your future, buy impact-rated bits with a torsion zone; standard bits shatter. Add a countersink and your screws start looking intentional. Treat bits as consumables: when one stops cutting, replace it rather than pushing harder.
- ✔ Everything here earns its keep
- ✔ Total cost stays reasonable
- ✔ Covers 90% of real projects
- ✔ Nothing you’ll outgrow
The buying mistakes that cost the most
- The big combo kit. Twelve tools in a case looks like a bargain, but you usually get thin versions of tools you won’t touch and a compromised version of the one you will.
- Saving in the wrong place. Go cheap on housings if you must. Never on layout tools, blades, bits or abrasives.
- Buying capability instead of skill. A joinery machine doesn’t make joints, it makes the joints you already understand faster.
- Ignoring running costs. Discs, blades and glue are the real budget line, and odd-sized consumables turn tools into shelf art.
- Leaving out safety gear. Glasses, hearing protection and a decent dust mask aren’t on the list of seven, but they belong in the same cart. Hearing doesn’t grow back.
What I left off — on purpose
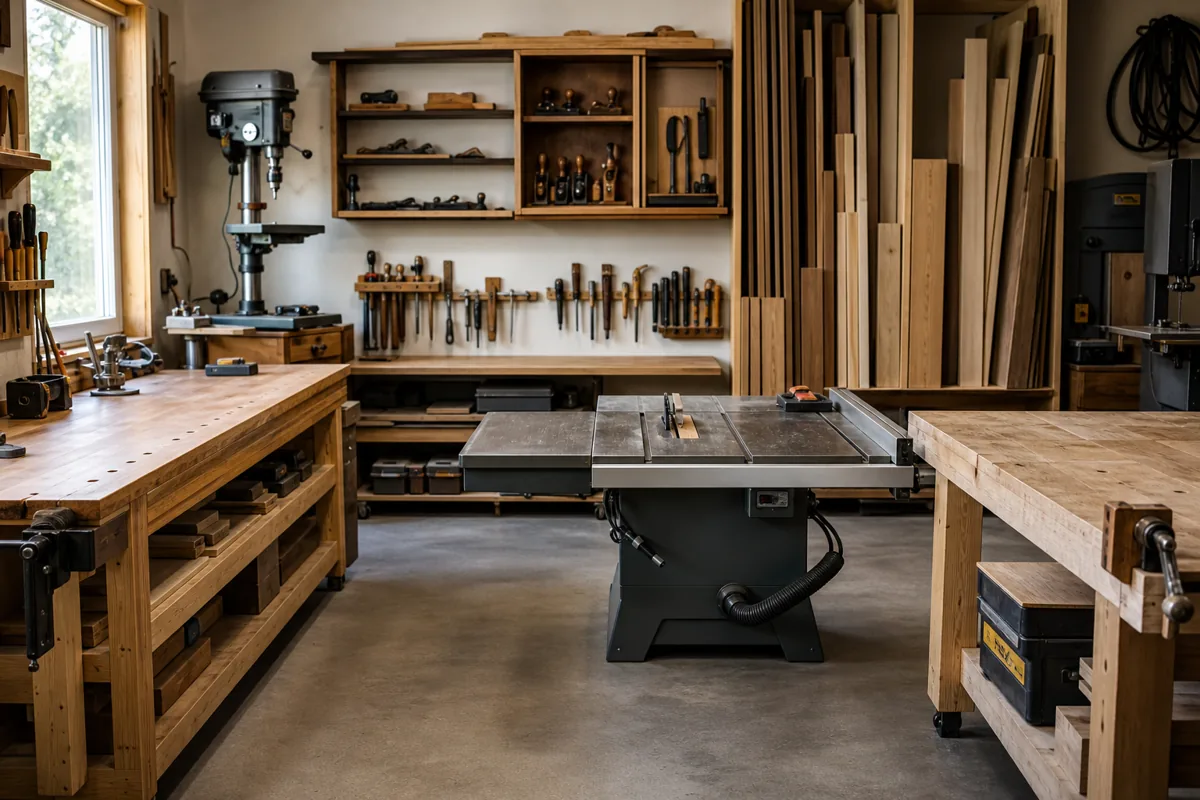
No table saw, no router table, no domino joiner. Not because they’re bad — I own them — but because you don’t need them to start, and buying them first is how people end up with an expensive shop and no finished projects. Build a dozen things with the seven tools above, and you’ll know exactly which “next” tool your work is actually asking for.
How will you know? Your projects tell you. Watch for the jig you keep rebuilding, the operation you design around because you dread it, the cut that eats twenty minutes of setup every time. That’s your next tool — and by then you’ll buy it once, in the right size, for a reason.
FAQ
Corded or cordless for the saw and sander?
Cordless is essential for the drill and merely convenient elsewhere. If you’re already on a battery platform, cordless versions are fine. If you’re not, corded gives you more tool for the money, never dies mid-cut, and means one less battery to juggle while a vacuum is also running.
Is it worth buying any of these used?
Clamps, squares and planes, absolutely — they’re mostly steel and they don’t wear out, though test a used square for square and check a plane’s sole for flatness and cracks. Be more careful with used cordless tools, where the batteries are the expensive part and their history is invisible. Sanders take the hardest life of anything here.
Do I really need a table saw eventually?
Eventually you’ll probably want one or a track saw, mainly for repeatable rips and narrow parts. That’s a want driven by volume and repetition, not a gate on what you’re allowed to build. A lot of good furniture gets made without one.
What’s the first tool to add after these seven?
Usually an impact driver, because it takes over every screw and lets the drill stay set up for drilling. After that it splits by what you make: a jigsaw for curves, a miter saw if you cut the same length over and over, a router once your edges and joinery get ambitious. Let the projects choose.