Key takeaways
- A honest, blister-by-blister log of building a Roubo-style workbench from construction lumber — including the tools that saved the project.
What's inside
As an Amazon Associate I earn from qualifying purchases. This post may contain affiliate links at no extra cost to you.
Every woodworker eventually hits the same wall: you can’t build good furniture on a wobbly folding table. I put it off for years. Then one Saturday I ripped a board on my old bench, watched the whole thing rack sideways, and decided that was it. Three weekends later I had a Roubo, and I’m never going back.
Here’s exactly how it went — the parts that worked and the parts where I wasted an afternoon so you don’t have to.
As an Amazon Associate we earn from qualifying purchases at no extra cost to you.


Here is the part nobody tells you: almost none of the difficulty in a Roubo workbench build lives in the joinery. The hard part is mass and flatness, and both of those get decided at the lumber rack before you cut anything. A bench does two jobs. It holds work still, and it gives you a flat reference surface you can trust. The vise you choose, the dog hole layout, whether you bother sanding the legs — all of that is comfort. Get mass and flat right and a bench built from the cheapest lumber in the store will out-work a pretty one that skitters across the floor every time you push a plane.
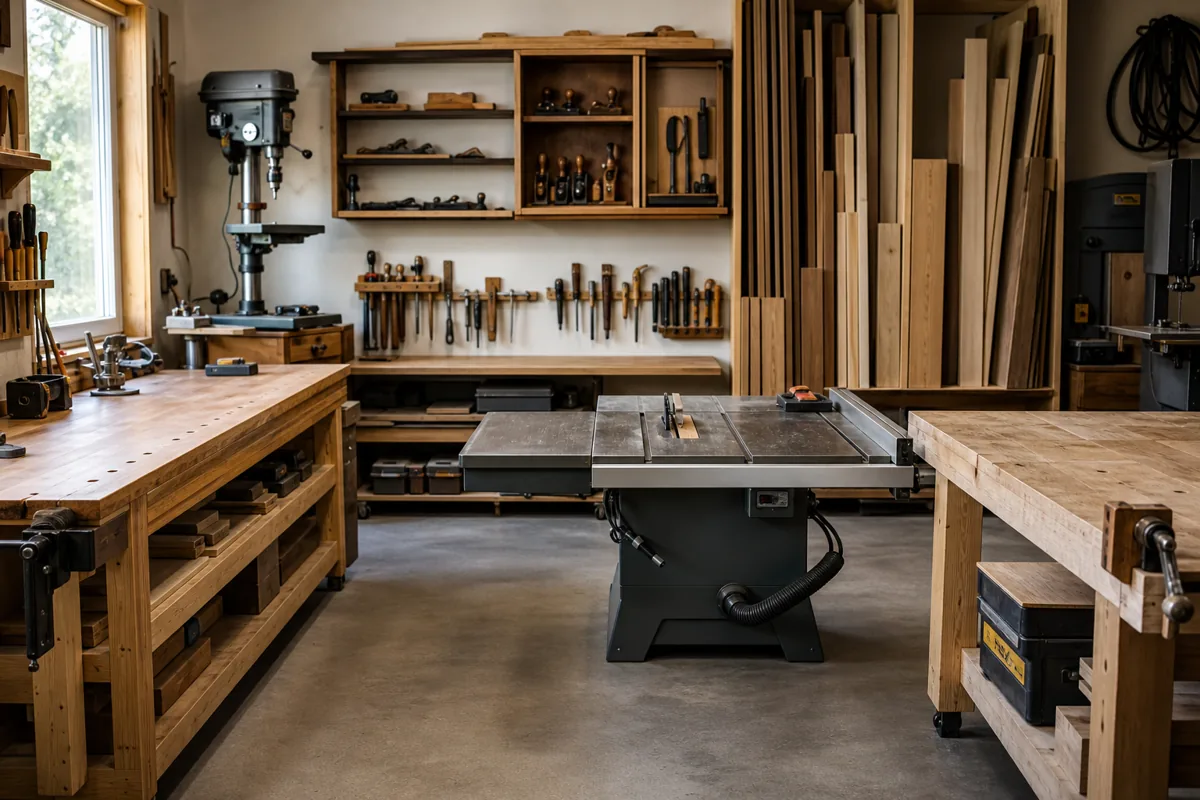
Weekend one: the top
The top is the whole point of a Roubo — a massive slab you can plane against, clamp to, and beat on. I laminated mine from eight construction-grade 2x4s ripped clean, glued face to face. Everyone warns you that milling construction lumber flat is miserable, and everyone is right. A benchtop planer would’ve saved me hours, but I did it with a hand plane and a lot of coffee.
The weekend is really won or lost in the lumber aisle, so spend the extra half hour there. What I sort for, in order of importance:
- Straight beats pretty. Sight down the edge and the face of every board. You can plane out a gentle crown, but twist fights you through the entire glue-up, so put those back on the pile.
- Dry, or dry enough. Construction lumber often leaves the yard wetter than furniture stock. Buy it, sticker it in loose stacks with air gaps in your shop for a couple of weeks, and let it move before you mill it. Skipping that step means flattening your top twice.
- Avoid boxed heart. Boards with the pith running down the middle are the ones that cup and twist hardest as they lose moisture. Check the end grain, not the face.
- Watch where the knots land. A tight knot in the middle of a face is fine. A big loose one sitting on a glue line, or where a tenon shoulder needs to bear, is a weak spot you can’t fix later.
- Buy more than the plan calls for. Two spare boards cost almost nothing and let you reject the worst of the batch once milling reveals what you actually bought.
The other thing I’d do differently: glue up in sections instead of all at once. Yellow glue gives you only a few minutes of working time, and eight slippery faces at once is a scramble that ends with a top shaped like a banana. Do two or three boards per session, check them flat with a straightedge before the glue grabs, then join the sections. Use cauls across the width, put a clamp every six to eight inches, and alternate them above and below the slab so the pressure doesn’t bow it in one direction.
The single tool that carried this stage was a good set of parallel clamps. You cannot have too many during a glue-up this size.
Bessey K-Body Parallel Clamp
If you buy one upgrade for a workbench build, make it real parallel clamps. The wide jaws keep the lamination flat instead of bowing it, and the clamping force is in a different league from cheap pipe clamps. I own six now and wish I had eight.
What separates a good clamp from a bad one
At the cheap end, pipe clamps are the value play — buy the heads, buy the pipe by the foot, and you can arm a big glue-up for less than any other route. The tradeoff is that the screw sits off to one side of the pipe, so cranking down hard tends to lift and bow the boards you are trying to keep flat. Midrange F-style clamps are convenient and fine for parts and sub-assemblies, but the bars flex and the jaws are narrow, so pressure lands in a small spot instead of spreading across the joint. Parallel clamps cost the most because the jaws stay square to each other under load, which is precisely what a wide lamination needs. If your budget is fixed, buy fewer good clamps and borrow the rest for glue-up day rather than buying twice as many bad ones. The only person who should skip the upgrade is someone building one bench and never gluing anything wide again.
Weekend two: legs and joinery
The legs are where a Roubo earns its reputation — big through-tenons into the top, drawbored so they never loosen. I cut the mortises with a drill and a chisel. A brad-point bit set made the drilling clean; a dull spade bit would have torn the walls out.
If you’re buying bits for this, the criteria are simple: the point has to register exactly where you put it, the flutes have to clear chips from a deep hole, and the shank has to run true enough to drill square. Brad points do all three well in softwood. Forstner bits cut cleaner and leave flat bottoms, which is genuinely nice in a mortise, but they want lower speed and more torque, so they suit a drill press better than a cordless drill. Spade bits are acceptable if they’re sharp and backed with scrap, and miserable otherwise. Whatever you use, drill a through mortise from both faces toward the middle so any blowout happens where the chisel is going to clean up anyway.
Drawboring is less mysterious than it sounds. Bore the peg hole through the mortise walls, dry-fit the tenon, mark through it, then shift the mark in the tenon a hair toward the shoulder — a sixteenth of an inch or less. Taper a straight-grained hardwood peg, drive it home, and that offset pulls the joint tight and holds it there without relying on glue. Don’t get greedy with the offset; too much and you snap the peg or blow out the tenon cheek. And if hand-cut joinery isn’t why you’re here, bolted stretchers with barrel nuts hold a base together perfectly well. Nobody inspecting your finished furniture will ever know.
- ✔ Rock-solid once assembled
- ✔ Cheap material, heirloom result
- ✔ Teaches you real hand-tool joinery
- ✔ Flat reference surface forever
- ✘ Milling lumber flat is hard work
- ✘ Heavy — build it where it lives
- ✘ Glue-up needs many clamps
Weekend three: the vise and flattening
I fitted a front vise and a simple planing stop, then spent the last afternoon flattening the top with a jointer plane and winding sticks. That’s the meditative part. When shavings come off in full-width ribbons, you know it’s flat.
Which vise suits which woodworker
A cast-iron front vise under the front edge is the least fussy option and the one I’d put on a first bench: inexpensive, quick to mount, and plenty for holding a board while you saw a tenon. A leg vise gives you enormous capacity and real pressure right where a hand-tool worker wants it, but it needs a parallel guide or a criss-cross mechanism and a leg thick enough to carry the screw, which makes it a design decision rather than a bolt-on. A wagon or tail vise working against dogs along the top is the answer if you spend your life planing wide panels, and it’s also the most work to fit. Whatever you choose, lined jaws and a smooth screw matter more than the brand on the casting — and a row of 3/4-inch holes for holdfasts will improve your workholding more than an expensive vise with nothing to clamp against.
For flattening, work across the grain first with a jack or scrub plane to knock down the high spots fast, then go diagonally, then finish with the longest plane you own running along the length. Check with winding sticks at both ends and the middle, not just once in the center. Stop before you chase perfection: a top that’s flat within a shaving’s thickness across its length is a better reference surface than most machine tables, and you’ll be re-flattening it after the first change of seasons anyway. Leave the top unfinished, or use oil and wax — a film finish makes dried glue bond to the bench instead of popping off with a chisel.
The mistakes worth skipping
- Building the base first. Build the top first. It’s the hard part, it dictates the joinery, and finishing it gives you the momentum to carry on.
- Copying a bench height out of a plan. The traditional starting point for hand-tool work is the height of your knuckles with arms hanging, a little higher if you do more joinery than planing. Stack blocks under the top and mime a few strokes before you cut the legs. You can trim legs later; you can’t add.
- Building it somewhere it can’t live. This thing is deliberately heavy. Assemble it in its final position, or plan on help and a dolly.
- Sanding the top. Abrasive grit embeds in softwood and eats the edge of every tool you set down. Plane it or scrape it.
- Milling before the wood settles. Every hour you spend flattening damp lumber gets undone by the wood itself a month later.
FAQ
Can you really build a serious bench from construction lumber?
Yes. Mass, thickness, and a flat surface do the work, and softwood laminated thick delivers all three cheaply. The honest tradeoff is that it dents more easily than a hardwood top. Dents in a bench are just history — plane them out when you next flatten it.
Do I need a planer or jointer?
No, but you’ll pay for it in effort. A benchtop planer would’ve saved me hours on the milling stage, which is exactly where it earns its keep. Without one, a jack plane, a long plane, winding sticks, and patience get you there; just budget a full extra session for it.
Do I have to drawbore the joints?
No. Drawboring is a mechanical guarantee, not a requirement. Well-fitted glued tenons or bolted stretchers with barrel nuts will keep a base rigid for decades, and bolts have the advantage of being tightenable later if anything ever moves.
Is three weekends realistic for a first bench?
Three working weekends was my build time, and the top ate most of it — but that clock doesn’t include the weeks the lumber spent acclimating. If this is your first through-tenon, assume four weekends and stop pushing when you get tired. Fatigue is where the expensive mistakes happen.
Would I do it again?
In a heartbeat. Total cost was under what a flimsy import bench would run, and this one will outlive me. If you’re on the fence, build the top first — once you plane against a slab that doesn’t move, the rest is inevitable.
Next up I’m putting this bench to work on a live-edge walnut coffee table. Come along.