
Our Top Picks
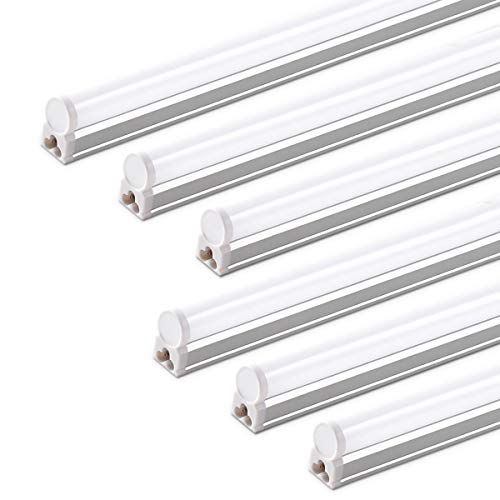 Barrina LED T5 Integrated Single Fixture4 Feet-6 Power Cords46.1 x 0.9 x 1.45 Inches0 PoundsCheck on Amazon


What's inside
As an Amazon Associate I earn from qualifying purchases. This post may contain affiliate links at no extra cost to you.
For two years I worked under the single bulb the builder screwed into the middle of my garage ceiling, and I blamed my eyes, my glasses, and my table saw for problems that were entirely the light’s fault. Tear-out I could not see until the finish went on. Pencil lines I squinted at. A whole cherry panel I sanded through in one spot because the shadow from my own shoulder hid the swirl marks. This shop lighting buying guide is what I wish someone had handed me before I spent money on the wrong fixtures twice.
Here is the short version: shop lighting is not one purchase, it is a layout problem with three layers, and most garage woodworkers under-buy on quantity and over-think brand. You need enough ambient light that nothing casts a hard shadow, then task light where your hands actually are, then one accurate raking light for checking surfaces. Get the layout right with cheap fixtures and you will be happier than someone who bought expensive fixtures and hung two of them.
As an Amazon Associate we earn from qualifying purchases at no extra cost to you.


![hykolity 4FT LED Shop Light, 42W [250W Equivalent],4400LM,5000K Daylight | Utility Linkable Shop Light Fixture,Hanging or Surface Mount, with Power Cord,Shop Lights for Workshop,ETL,White,4 Pack](https://m.media-amazon.com/images/I/51NpOzfl4JL._AC_UL320_.jpg)


Start with lumens per square foot, not fixture count
Fixture marketing loves big lumen numbers on the box. What matters is total lumens divided by your floor area. Woodworking is detail work with sharp tools, so aim higher than a general garage recommendation. For a shop where you are cutting joinery and inspecting finishes, plan for roughly 70 to 100 lumens per square foot of ambient light, then add task lighting on top of that. A standard one-car garage runs somewhere in the 200 to 250 square foot range, which puts you in the neighborhood of 15,000 to 25,000 total lumens. That sounds enormous until you realize a typical 4-foot LED shop light lands somewhere around 4,000 to 5,500 lumens, so you are talking about four to six fixtures, not two.
The other number nobody mentions on the packaging: ceiling height and surface color eat light. A low, white-painted ceiling bounces light back down and makes every fixture more effective. Bare drywall or, worse, exposed dark framing swallows it. Before you buy a single fixture, painting the ceiling and upper walls flat white is the cheapest lighting upgrade available. I did mine with leftover ceiling paint and the difference was roughly like adding a fixture.
| Spec | What to look for in a shop | Why it matters |
|---|---|---|
| Total lumens | 70-100 lm per sq ft ambient | Under-lighting causes shadows you cannot see around |
| Color temp | 4000K-5000K | Neutral to cool reads grain and layout lines cleanly |
| CRI | 90+ if you finish or stain | Low CRI makes stain colors and blotching invisible |
| Mounting | Chain, flush, or plug-in linkable | Rented or unfinished garages need reversible options |
| Diffuser | Frosted lens over bare diodes | Cuts glare when you look up from a machine |
| Rating | Damp or wet rated for unheated shops | Cold and humidity kill cheap drivers early |
Color temperature and CRI: the spec I ignored and regretted
Color temperature is the easy one. Warm 2700K light feels cozy and is terrible for reading a marking gauge line. Very cool 6500K is harsh and makes long sessions tiring for me personally. I have settled on 4000K to 5000K, and if a fixture offers a selectable switch I set it around 4000K for general work and appreciate having 5000K available when I am chasing a defect. Whatever you pick, buy all your fixtures at the same temperature. Mixing them looks awful and, more practically, it messes with how you judge color across the shop.
CRI, the color rendering index, is the spec I skipped on my first purchase because I did not know what it meant. It describes how accurately a light source shows color compared to daylight. Cheap fixtures often sit around 80, which is fine for parking a car and bad for finishing. Under low-CRI light, walnut goes flat and gray, cherry loses its warmth, and blotchy stain absorption stays invisible until you carry the piece outside. If you apply any kind of stain or dye, spend the extra few dollars per fixture for CRI 90 or better. If you only build shop furniture in pine and paint it, honestly, 80 will not ruin your life.
Linkable 4-Foot LED Shop Lights (Multi-Pack)
This is where almost every garage shop should start. Buy a four or six pack of linkable 4-foot LED fixtures rather than one or two premium units, because coverage beats brightness. Plug-in models with pull chains and hanging chains let you experiment with spacing before you commit to hardwiring anything, which matters a lot if your garage ceiling is unfinished or you are renting. Check the listed lumens per fixture and multiply by pack count before you decide it is enough.
Layout beats brightness: how I’d hang them
The single biggest improvement in my shop came from moving fixtures, not buying more. Two principles carry most of the weight. First, run fixtures perpendicular to your main workflow so light comes at your hands from multiple directions instead of one. Second, never put a fixture directly behind where you stand at a machine, because your own body becomes the shadow.
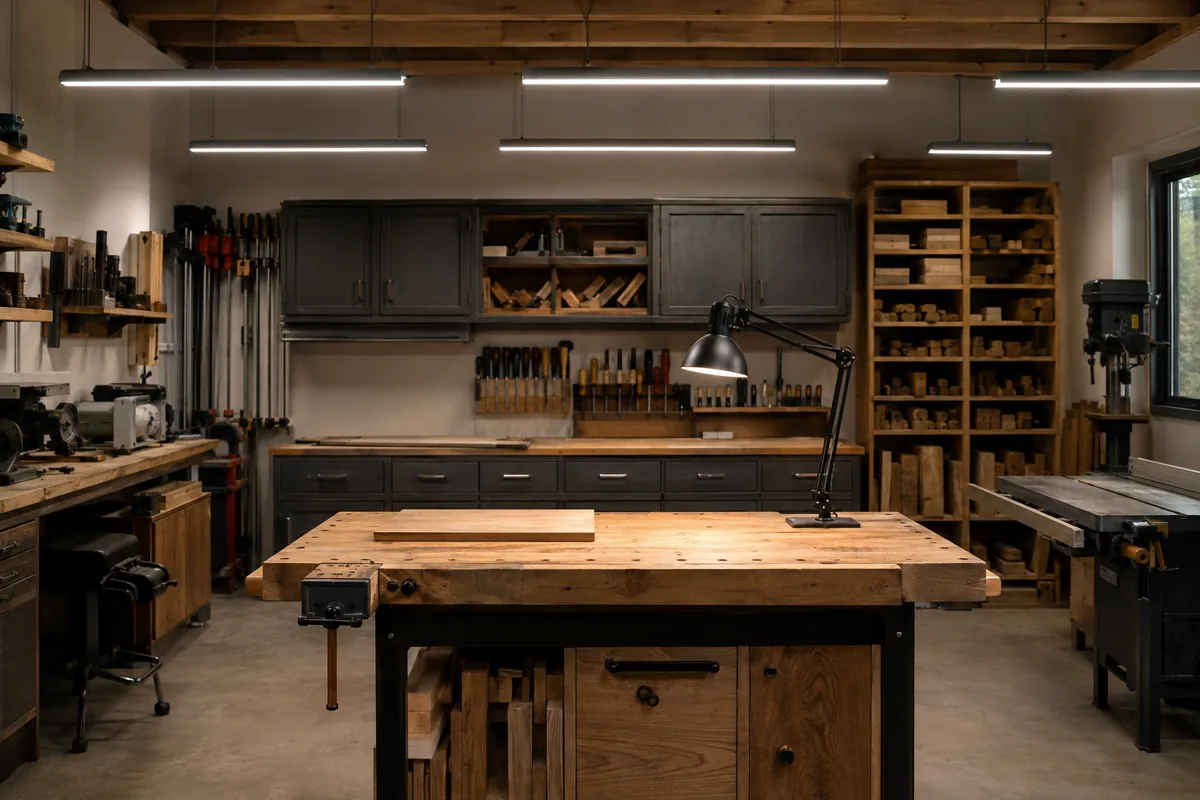
Practically, that meant two rows of fixtures running across my garage rather than one row down the center. I put a fixture slightly in front of and above the table saw so light falls on the blade and the fence, not on my back. Over the bench I have a fixture on each side of where I stand, which kills the shoulder shadow that ruined that cherry panel. Around the miter saw station I added light low and to the side, because a saw hood casts a shadow exactly where the cut line is.
Then there is the raking light, and this is the trick that changed my finishing more than any product. Mount one light low, near the bench surface, aimed almost parallel across the wood. Grazing light throws long shadows off every scratch, glue witness line, and sanding swirl. A cheap clamp lamp or a magnetic-base LED work light does this fine. You are not using it to see, you are using it to catch what normal overhead light hides.
- ✔ Ambient plus task plus raking light beats any single expensive fixture
- ✔ Linkable plug-in fixtures are reversible, which suits rented or unfinished garages
- ✔ A flat white ceiling makes every fixture you own more effective
- ✔ Selectable color temperature gives you a defect-hunting mode for free
- ✘ Bare-diode fixtures create real glare when you glance up from a machine
- ✘ Very cheap drivers struggle to start in an unheated shop below freezing
- ✘ Integrated LED fixtures are not repairable, so failure means replacement
- ✘ More fixtures means more cords and more ceiling clutter to route
Cold shops, glare, and other things the box does not warn you about
My garage is unheated and hits well below freezing in January. Two lessons from that. Cheap fixtures can flicker or refuse to start when cold, and older linear fluorescent tubes are genuinely bad in the cold, which is one of several reasons I would not install fluorescent in a shop today. Look for a stated operating temperature range and a damp-location rating. If your shop is humid or you spray finishes, take the rating seriously.
Glare is the other underrated problem. Bare LED strips with no diffuser are painfully bright to look at directly, and you will look at them every time you stand up from a machine. A frosted lens costs almost nothing and makes long sessions much more comfortable. Related: dust. Shop lights collect a fuzzy layer of sawdust that noticeably dims them within a season. Wipe them down when you do your quarterly shop cleaning and you will get light back for free.
On wiring, my honest position is that plug-in linkable fixtures with a couple of well-placed outlets solve this for most garage shops. Hardwiring more circuits and dedicated switches is genuinely better, and it is also electrician territory in most jurisdictions. I ran plug-in for three years with no complaints beyond cord routing.
Magnetic and Clamp LED Task Lights
Once ambient light is handled, this is the highest-value small purchase in the shop. A magnetic-base or clamp-mount LED with an adjustable arm gives you drill press light, lathe light, and grazing light for finish inspection out of one fixture you move around. Look for a genuinely stiff arm, because floppy gooseneck designs sag under vibration and drift out of position exactly when you need them steady.
What I’d buy in what order on a limited budget
If money is tight, sequence matters more than brand. First, paint the ceiling and upper walls flat white. Second, buy a multi-pack of 4000K to 5000K linkable LED shop lights and get to that 70 to 100 lumens per square foot target, prioritizing quantity and spacing over per-fixture specs. Third, add one movable task light with a magnetic or clamp base. Fourth, if you finish wood, upgrade or supplement with CRI 90-plus fixtures over the bench and finishing area specifically, since that is the only place accuracy really pays.
What I would skip: fixtures sold primarily on app control or color-changing features, ultra-cheap no-name units with vague lumen claims and no temperature rating, and single high-output units marketed as replacing a whole shop’s worth of light. That last category is the trap I fell into. One very bright fixture is still one direction of light, and one direction of light means shadows.
Shop lighting buying guide FAQ
How many shop lights do I need for a two-car garage? A two-car garage is roughly 400 to 500 square feet, so at 70 to 100 lumens per square foot you are looking for somewhere around 30,000 to 45,000 total lumens. With typical 4-foot LED fixtures in the 4,000 to 5,500 lumen range, that lands around eight to ten fixtures arranged in two or three rows. Start with a six-pack, live with it for a week, then add where you find shadows.
Is 5000K too bright or harsh for a woodworking shop? Color temperature is not brightness, it is the tint of the light, so 5000K is not inherently brighter than 4000K. It reads cleaner and slightly cooler, which helps with layout lines and defect hunting. Some people find it clinical for long sessions. If you cannot decide, buy selectable-temperature fixtures and set them at 4000K, or split the difference by using 5000K over the bench and 4000K elsewhere.
Should I replace fluorescent shop lights or just retrofit LED tubes? If your existing fluorescent fixtures are in good shape and the shop is heated, direct-wire LED tube retrofits are a reasonable, cheaper path. In an unheated garage, or if the ballasts are humming and slow to start, I would replace the whole fixture with an integrated LED unit. You get better cold performance, a diffuser, and usually more lumens for the money than buying tubes plus fighting old ballasts.
Good light is the one shop upgrade that improves every single thing you build, because you cannot fix a defect you never saw. If I could rewind, I would have bought a six-pack of ordinary linkable LEDs and a can of white ceiling paint in month one instead of tolerating that single bulb for two years.
Check prices on Amazon →