
Our Top Picks
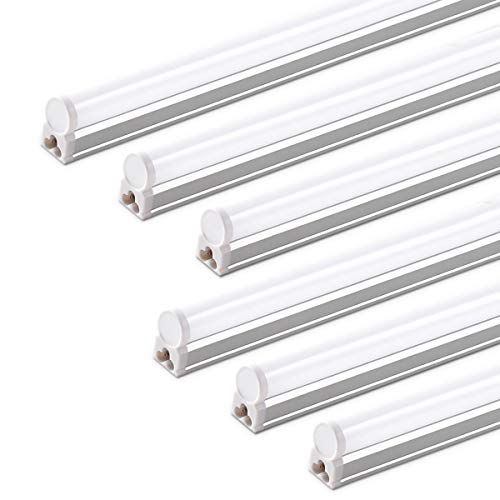 Barrina LED T5 Integrated Single Fixture4 Feet-6 Power Cords46.1 x 0.9 x 1.45 Inches0 PoundsCheck on Amazon



What's inside
As an Amazon Associate I earn from qualifying purchases. This post may contain affiliate links at no extra cost to you.
For about three years I worked under two bare bulbs screwed into the garage door opener and a clamp light I dragged around the bench. I told myself it was fine. Then I finish-sanded a walnut lid, carried it into daylight, and found a whole field of cross-grain scratches I never saw indoors. That was the day I stopped treating best workshop lighting as a nice-to-have and started treating it as a tool. Bad light does not just make work unpleasant, it hides your mistakes until it is too late to fix them cheaply.
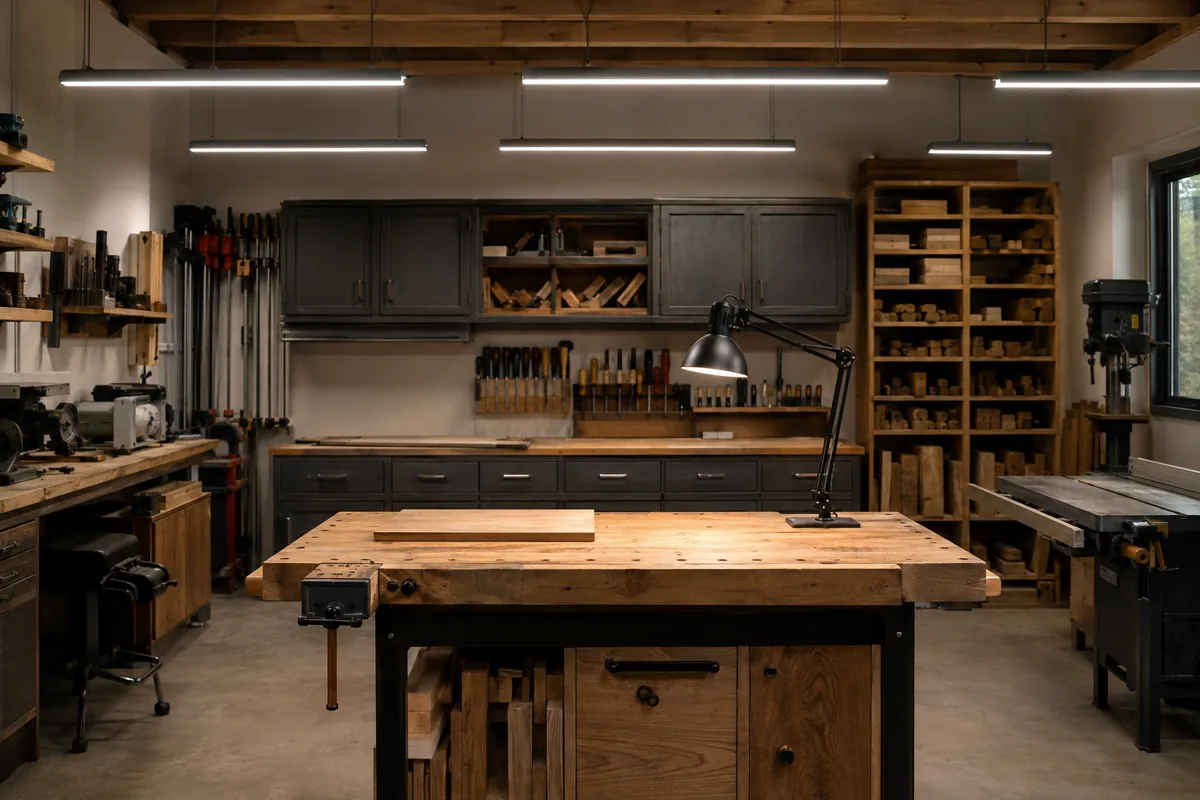
Here is the part nobody tells you: the problem in a garage shop is almost never total brightness. It is shadows and glare. One giant light in the middle of the ceiling gives you a bright ceiling and a dark bench, because your own head and shoulders block the beam every time you lean over a workpiece. The fix is more fixtures spread wider, plus task light exactly where your hands are. That reframing is what actually changed my shop.
As an Amazon Associate we earn from qualifying purchases at no extra cost to you.
![hykolity 4FT LED Shop Light, 42W [250W Equivalent],4400LM,5000K Daylight | Utility Linkable Shop Light Fixture,Hanging or Surface Mount, with Power Cord,Shop Lights for Workshop,ETL,White,4 Pack](https://m.media-amazon.com/images/I/51NpOzfl4JL._AC_UL320_.jpg)





How much light does a garage workshop really need?
Lighting gets sold in lumens, but what you care about is lumens landing on your bench, which depends on fixture height, spacing, and how much your walls reflect. General guidance in the trades is that a workshop wants somewhere in the neighborhood of 50 to 75 footcandles for general work, and considerably more over precision areas like a bench, a lathe, or a sharpening station. Rather than doing photometric math on a Saturday, I use a rougher rule that has never let me down: aim for roughly 70 to 100 lumens per square foot of floor for a woodshop, then add task lighting on top.
For a typical one-car garage bay of around 240 square feet, that puts you in the ballpark of 17,000 to 24,000 lumens total. That sounds enormous until you realize a single modern 4-foot LED shop light is often in the 4,000 to 5,500 lumen range. So you are talking about four to six fixtures, not one. Spread them out. Two rows running parallel to your bench beat one row down the center every time.
One more thing worth knowing before you spend money: white paint is the cheapest lighting upgrade in the building. Painting my raw drywall and OSB walls semi-gloss white did more for perceived brightness than adding a fifth fixture would have. Dark walls and an unfinished ceiling swallow light.
| Fixture type | Typical output range | Best use in a garage shop | Watch out for |
|---|---|---|---|
| 4 ft linkable LED shop light | 4,000-5,500 lm each | General ceiling lighting in rows | Cheap ones have poor CRI and buzzy drivers |
| LED high bay / UFO | 10,000-20,000+ lm | Tall or two-car bays, 12 ft+ ceilings | Harsh glare and hot shadows if hung too low |
| LED wraparound or panel | 3,000-5,000 lm | Low 8 ft ceilings, diffuse and even | Lower output per fixture, need more of them |
| Adjustable LED garage light (deformable) | 6,000-12,000 lm | Fast upgrade to an existing bulb socket | Point-source glare, uneven coverage |
| Under-cabinet / bench strip | 500-2,000 lm | Task light on the bench and at the miter saw | Needs careful aim or it glares in your eyes |
| Rechargeable work light or headlamp | 500-2,500 lm | Inside carcases, under machines, assembly | Runtime and color quality vary a lot |
Color temperature and CRI matter more than you think
Color temperature is measured in Kelvin. Warm household light sits around 2700K to 3000K, neutral is roughly 4000K, and cool daylight runs 5000K to 6500K. The internet loves to argue about this. My take after living with all three: 4000K to 5000K is the sweet spot for a woodshop. Below that, everything reads yellow and you cannot judge a finish. Above that, the light gets clinical and blue, and in my shop it made cherry and walnut look weirdly gray, which made stain and finish decisions harder.
CRI, the color rendering index, is the spec that actually separates good shop light from bad shop light, and it is the one most budget fixtures quietly skip. A high CRI, ideally 90 or above, means colors look like they do in daylight. Low-CRI light is what makes a piece look great on the bench and disappointing in the living room. If a listing does not state CRI, assume it is mediocre. Anything advertising 80 CRI is acceptable for general ceiling light but I would not use it to judge a stain match.
There is a practical trick here too. If you use the same color temperature everywhere, your eyes adapt and you stop noticing shadows. Mixing 4000K general light with a 5000K task light over the bench gives you a subtle visual cue that you have moved into precision work. Small thing, but I like it.
4 ft Linkable LED Shop Lights (4-pack)
This is where I would send almost every garage woodworker first. Buy a linkable 4-pack rather than one big fixture, hang them in two rows on either side of your bench instead of down the center, and you solve the shadow problem and the brightness problem at the same time. Filter for stated CRI and a plug-in cord if you do not want to hardwire anything.
Fixture layout beats fixture wattage
If you take one idea from this article, take this one. Two 4,000 lumen fixtures placed on either side of your bench will beat one 10,000 lumen fixture directly overhead, because light coming from two directions cancels the shadow your own body casts. This is the single most common mistake I see in garage shop photos, and it was my mistake for years.
Some layout habits that have earned their place in my shop:
Run fixtures perpendicular to the bench, not parallel to it. A long fixture running across your work area throws light along the length of the board, which is what you want when you are checking for glue squeeze-out or tearout.
Get light close to the wall. Most people cluster fixtures in the center of the ceiling, which leaves the wall-mounted bench, where all the real work happens, in relative gloom. Move a row within two feet of the wall.
Light the machines separately. The bandsaw, drill press, and miter saw all need light coming from the front and slightly above, not from behind your head. A dedicated small fixture or gooseneck lamp at each station is cheap and transformative.
Use raking light on purpose. A single low-angle light source skimming across a sanded surface reveals scratches, dents, and glue spots that flat overhead light hides completely. I keep a cheap rechargeable light on the bench specifically for this, and I check every panel with it before finishing. This one habit has saved me more rework than any tool I own.
Mounting, wiring, and the boring stuff that actually bites you
Most affordable shop lights come with a plug and a chain or a pair of hanging clips. That is genuinely fine for a rented garage or a shop you plan to reconfigure. Chain-hung fixtures are easy to move when you finally admit the table saw needs to live somewhere else. The tradeoff is a spiderweb of extension cords, and a cord snagging on a board you are carrying is a real hazard, not a hypothetical one.
If your fixtures are linkable, you can daisy-chain several off one outlet. Check the stated maximum number of linked fixtures because it exists for a reason, and do not exceed it. If you are running more than a couple of rows, or if you want ceiling boxes and switches, that is a job for an electrician, especially in a garage where circuits are often shared with the door opener and the freezer.
Cold matters too. Cheap LED drivers can flicker, buzz, or start slowly in an unheated garage below freezing. If your shop gets genuinely cold, look for a stated low-temperature rating. Ordinary linkable lights in an attached, mildly heated garage have been fine for me.
Finally, dust. A woodshop coats everything, and light fixtures are no exception. Flat lenses shed dust better than ribbed ones, and sealed fixtures stay brighter longer. Either way, wiping the lenses twice a year recovers a surprising amount of output.
- ✔ More smaller fixtures kill shadows better than one big one
- ✔ 4000K-5000K with 90+ CRI makes finishing decisions far easier
- ✔ Linkable plug-in fixtures are renter friendly and easy to relocate
- ✔ White paint on walls and ceiling multiplies whatever light you install
- ✔ A dedicated raking light catches sanding flaws before finish goes on
- ✘ High-CRI fixtures cost meaningfully more than bargain shop lights
- ✘ High bay lights hung too low create harsh glare in a standard garage
- ✘ Plug-in setups mean extension cords, which are a real trip hazard
- ✘ Very cheap drivers can buzz, flicker, or misbehave in cold garages
- ✘ Adding fixtures may push you past what a shared garage circuit should carry
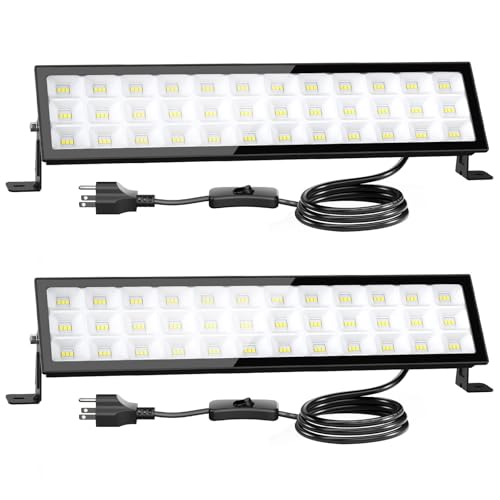
LED Task Light for Bench and Miter Saw
After general ceiling light, a clamp-on or magnetic-base task light is the upgrade I would make next. Get one with a real articulating arm so you can aim it low and across the work for raking light. Skip the ultra-cheap ones with flimsy joints; the head sagging into your work every ten minutes is genuinely maddening.
My honest take on the best workshop lighting setup for a small shop
If I were starting my garage over tomorrow with a modest budget, here is exactly what I would do, in order. First, paint the walls and ceiling semi-gloss white. Second, buy a four-pack of linkable 4-foot LED fixtures at 4000K to 5000K with the highest CRI I could find in budget, and hang them in two rows flanking the bench rather than one row down the middle. Third, add one adjustable task light at the bench and one at the miter saw. Fourth, keep one rechargeable light on the bench purely as a raking light and for looking inside cabinets.
That is a modest total spend and it will outperform a single expensive high bay fixture in a standard 8 to 9 foot garage. High bays earn their keep in tall shops with 12-foot-plus ceilings, where the extra mounting height spreads the beam out. Hung at 8 feet over a bench, they mostly just glare in your eyes.
Where I would spend more: CRI and fixture quality. Where I would spend less: total lumens. Once you cross roughly 75 lumens per square foot, additional raw brightness produces diminishing returns, while better color rendering and smarter placement keep paying off every single session.
Workshop lighting FAQ
How many lumens do I need for a two-car garage workshop? A two-car bay runs roughly 400 to 500 square feet, so at 70 to 100 lumens per square foot you are looking at somewhere around 28,000 to 50,000 lumens total. In practice that means eight to twelve 4-foot LED fixtures, or a handful of high bays if your ceiling is tall enough to hang them well above head height. Add task lighting at each machine on top of that number, not out of it.
Is 5000K or 4000K better for a woodworking shop? Both work, and this is more preference than science. I run 4000K to 5000K and find 5000K slightly better for spotting sanding scratches while 4000K is a little kinder for judging warm woods like cherry and walnut. What matters far more than the Kelvin number is CRI. A 90+ CRI fixture at either temperature will serve you better than a 6500K bargain fixture with unstated color rendering.
Are LED shop lights worth replacing my old fluorescent tubes? Yes, and it is one of the few upgrades I would call a no-brainer. LEDs start instantly in the cold, do not hum, do not flicker in a way that strobes with spinning blades, use significantly less power for the same output, and are now available with genuinely good color rendering. If you have existing fluorescent fixtures you can buy direct-replacement LED tubes, though replacing the whole fixture is often simpler and lets you upgrade the lens and driver at the same time.
Light is the cheapest accuracy upgrade in a garage shop. It does not make your saw cut straighter, but it lets you see that it did not, which amounts to the same thing over a year of projects. If you have been squinting at your bench under one sad bulb, fix that before you buy another clamp or chisel.
Check prices on Amazon →