
Our Top Picks
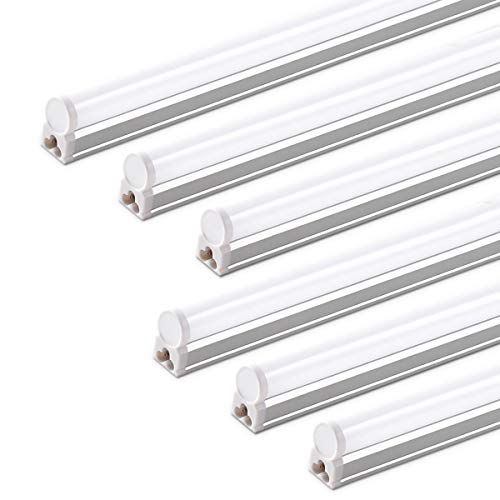 Barrina LED T5 Integrated Single Fixture4 Feet-6 Power Cords46.1 x 0.9 x 1.45 Inches0 PoundsCheck on Amazon


What's inside
As an Amazon Associate I earn from qualifying purchases. This post may contain affiliate links at no extra cost to you.
My shop is a one-car garage with a 9 foot ceiling. For two years it was lit by the bulb in the door opener plus a clamp light I dragged around like a flashlight, and I told myself that was fine. Then I carried a finished walnut door outside into daylight and found sanding scratches running diagonally across the whole face. That is when I stopped treating led lights for garage workshop use as a someday upgrade and started treating bad light as the reason my projects looked homemade.
The real problem in a garage is almost never total brightness. It is shadows, glare and color. One fixture in the middle of the ceiling means your own body blocks the light over the bench, the miter saw sits in a dim corner, and every board looks like the same shade of brown until you carry it outside. Fixing that is mostly about spreading light around and adding one light you can aim, not about chasing the biggest lumen number on the listing.
As an Amazon Associate we earn from qualifying purchases at no extra cost to you.


![hykolity 4FT LED Shop Light, 42W [250W Equivalent],4400LM,5000K Daylight | Utility Linkable Shop Light Fixture,Hanging or Surface Mount, with Power Cord,Shop Lights for Workshop,ETL,White,4 Pack](https://m.media-amazon.com/images/I/51NpOzfl4JL._AC_UL320_.jpg)


| Fixture type | Best for | Watch out for |
|---|---|---|
| 4 ft linkable shop light | 8 to 10 ft ceilings, general coverage | Cheap drivers flicker on cold mornings |
| UFO high bay | Open truss or vaulted ceilings | Serious glare if hung too low |
| Wraparound integrated LED | Finished drywall ceilings | Cannot be re-lamped or moved easily |
| Under-shelf strip light | Bench tops and cabinet interiors | Not enough light on its own |
| Plug-in stand work light | Renters and shifting layouts | Cords across a walking path |
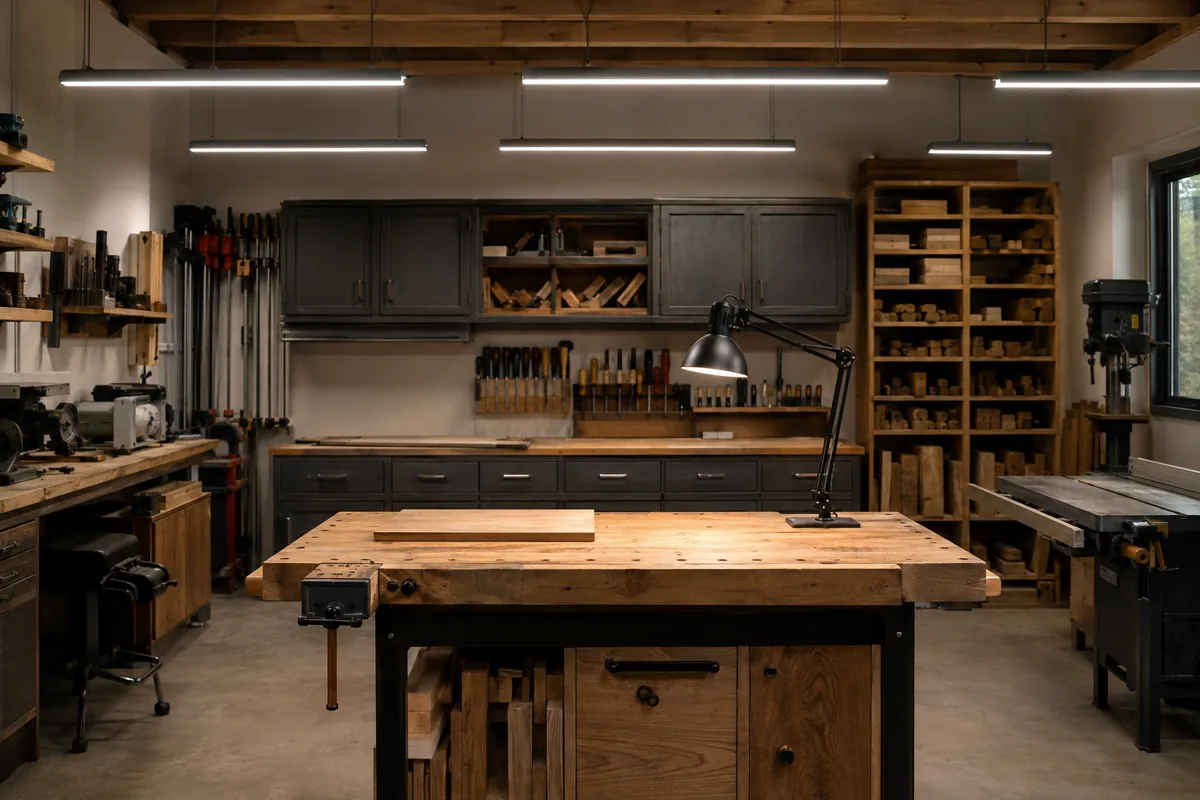
Figure Out How Much Light You Actually Need
The rule of thumb I use is 50 to 100 lumens per square foot, leaning high if you are over 40 or you finish in the same space you cut in. A 20 by 20 two-car garage is 400 square feet, so call it 20,000 to 40,000 lumens. That sounds absurd until you look at real fixtures: a typical 4 foot LED shop light lands somewhere in the low thousands of lumens, which means you need six to ten of them, not two.
Room finish matters too. Bare studs, dark shelving and stained concrete swallow light, while a white ceiling bounces it back at you. Painting my ceiling and the wall behind the bench white did more for usable brightness than the last two fixtures I hung, and it cost one gallon of paint. Plan the layout around where the tools will eventually live, not around an empty floor.
Linkable 4 ft LED Shop Lights (Multi-Pack)
For most one and two car garages this is where the first money should go. Buy a multi-pack from one product line so the color matches, check that the listing states a cold operating range, and get more fixtures than you think you need.
What to Look For in LED Lights for Garage Workshop Duty
Color temperature and color rendering
For general coverage I want 4000K to 5000K. 5000K reads clean and makes pencil lines and dust easy to see. 4000K is a little warmer and easier on my eyes late at night. Either one works, but pick a lane and stay in it, because mixed color temperatures in one room look wrong and you will notice it every single day. Color rendering is the spec nobody advertises: budget fixtures often sit near CRI 80, which is fine for sweeping the floor and lousy for judging stain color. Put at least one high-CRI fixture over wherever you finish.
Cold starts, linking and sawdust
An unheated garage is hard on cheap drivers, so read the listed operating temperature range before you buy or you will get flicker on the first freezing morning. Linkable fixtures are worth hunting for, because several lights daisy chained onto one plug beats running a cord for each one. And sawdust settles on everything, so a lensed housing holds its brightness better than an open board of bare diodes.
Mounting and Layout in a Real Garage
Two rows beat one row, always. Run your fixtures parallel to the long walls so light reaches the work from two directions and cancels the shadow your shoulders throw. A single centered row is the most common garage mistake, and it is exactly the arrangement that hides tearout and glue squeeze-out.
Over the bench, mount the fixture slightly in front of where you stand rather than directly overhead. Same at the drill press and the miter saw station. Overhead and behind means you work in your own shadow all day.
Then measure the boring stuff: clearance for the garage door track and the opener arm, and the arc you swing a sheet of plywood through on the way to the table saw. If you rent, plug-in linkable lights on ceiling hooks or a socket adapter get you most of the way there without touching wiring. Hardwiring is tidier if you own the place, but I would rather have decent light up this weekend than perfect light next spring.
UFO LED High Bay Lights
Once your ceiling is up around twelve feet or higher, strings of 4 ft fixtures stop making sense and a few high bays cover the room with far less wiring. The trade-off is glare, so look for a frosted lens rather than exposed diodes.
Task Light Is Where the Quality Comes From
General light keeps you safe. Raking light is what shows defects. Drop a movable light low and aim it almost parallel to the surface of a board, and every scratch, dent and skipped grit throws a shadow you can see instantly. I check every surface this way before a finish coat now, and it has saved me more rework than any tool I have bought.
Small dedicated lights at the pinch points earn their keep too. Something at the lathe, something inside the carcass you are assembling, and a strip under the wall cabinets over the bench. Under-shelf strips light the workpiece instead of the top of your head.
- ✔ Full brightness instantly, even in a cold garage
- ✔ Linkable models run several fixtures from one outlet
- ✔ No ballasts to fail and no glass tubes to break when a board swings wide
- ✘ Cheap drivers can hum or flicker on camera if you film projects
- ✘ Integrated LEDs cannot be re-lamped, so a failure means a whole new fixture
- ✘ Color quality varies widely between budget brands at the same stated Kelvin
Adjustable LED Task Light for the Bench
The cheapest quality upgrade in my shop. Magnetic base, clamp or gooseneck all work fine; what matters is that you can drop it low and rake the beam across a surface before you reach for the finish.
FAQ
How many 4 ft shop lights do I need for a two-car garage? Plan on roughly six to ten linkable fixtures, adjusted for the lumen output per fixture, your ceiling height and how dark the walls are. Buy them in one order so the color matches, and when torn between two quantities, take the larger one. I have never wished for less light.
Is 5000K too harsh for a woodworking shop? Some people find it clinical. I like it for general coverage, but plenty of woodworkers are happier at 4000K. If you can, buy one of each and live with them for a week before you commit a whole ceiling to one choice.
Can I just screw LED lights into the existing ceiling socket? You can, with a socket-to-outlet adapter, and it is a legitimate renter move. Two limits: that circuit may also feed the opener and other outlets, so do not chain a dozen fixtures onto it, and a single point source still leaves you working in your own shadow.
If you do one thing this weekend, add a second row of fixtures instead of a brighter single row, then buy one task light you can aim. That combination improved my finishing more than any sander I own. High CRI, dimming and motion sensors are refinements you can chase later, once the shop is genuinely bright.
Check prices on Amazon →