
Our Top Picks

What's inside
As an Amazon Associate I earn from qualifying purchases. This post may contain affiliate links at no extra cost to you.
For my first two years in the garage I had one bare bulb in the middle of the ceiling and a clamp light I moved around with my knee. I blamed my chisels for the tearout I could not see, and I blamed my eyes for the glue squeeze-out I only found after the finish went on. It was neither. Good task lighting for woodworking is the cheapest accuracy upgrade in a small shop, and it is the one most of us put off because it does not come in a nice branded case with a battery.
Here is the part nobody says out loud: general shop lighting and task lighting are two different jobs. Overhead panels fill the room so you do not trip over the dust collector hose. Task lights sit low and to the side so you can actually see a scribe line, a burnish mark, or the tiny ridge a jointer knife left behind. If you only do one of the two, you will keep chasing defects you cannot see until sunlight hits them.
As an Amazon Associate we earn from qualifying purchases at no extra cost to you.


| Fixture type | Best job in the shop | Watch out for |
|---|---|---|
| 4 ft LED shop light (linkable) | Overall ceiling fill above bench and machines | Flat, shadowless light hides surface flaws |
| Articulating LED task lamp | Bench work, layout, carving, sharpening | Small heads throw a narrow pool |
| Under-cabinet or under-shelf strip | Killing the shadow your own body casts | Needs a shade or lens or it glares |
| Magnetic worklight puck | Machine tables, drill press, lathe | Cheap ones have poor color rendering |
| Rechargeable stick / handheld | Inside carcases, assembly, finish inspection | Runtime drops fast on high |
Why task lighting for woodworking is a different problem than lighting a room
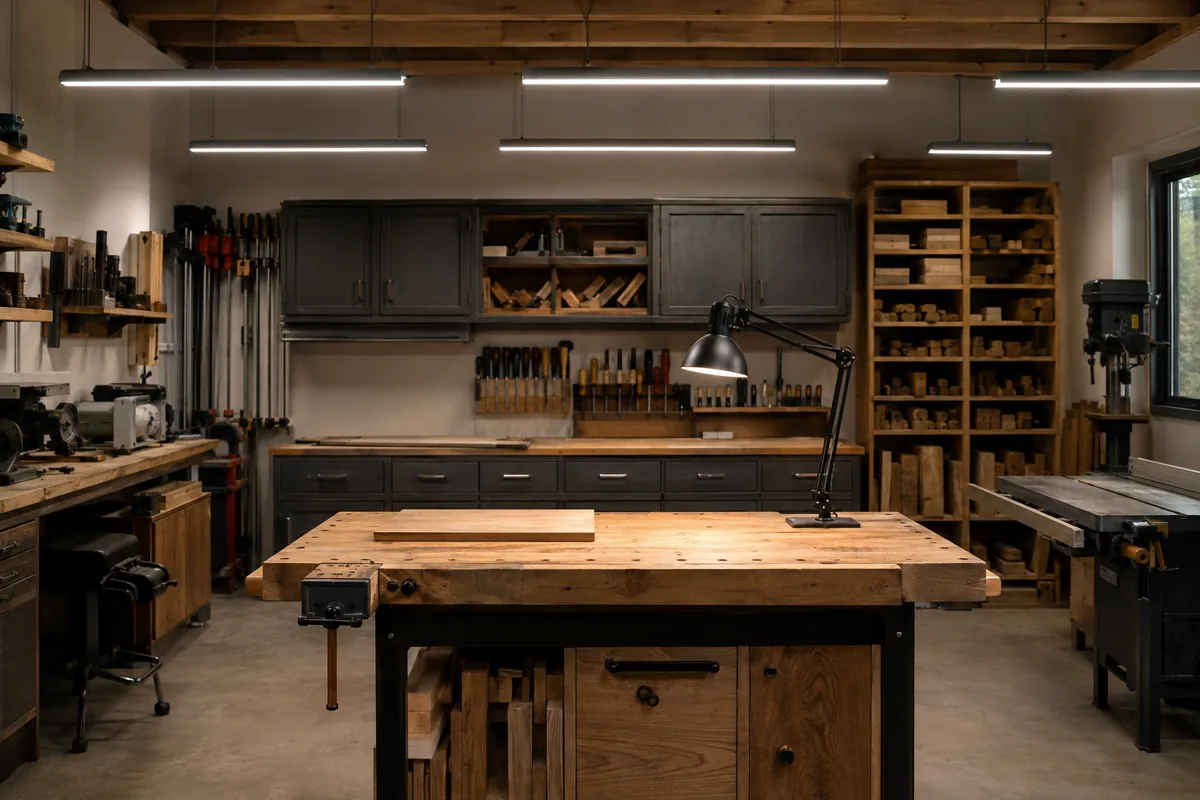
Woodworking is a surface-reading craft. You are not just looking at the board, you are looking at how light skims across it. That means the useful light in a shop is often the light that comes in at a low angle, almost parallel to the workpiece, because that is what turns a barely-there ridge into a visible shadow. Flood the same board with even light from directly overhead and the surface goes blank. I have sanded out swirl marks that were completely invisible under my ceiling panels and glaringly obvious the second I laid a task lamp down flat on the bench and looked across the grain.
So the mental model I use now is layers. Ceiling fixtures for safety and general movement. A bench-level task light I can aim, mostly for layout and joinery. And one portable light I use like an inspection tool, moved deliberately, for finish prep and glue-up checks. Three layers, three different purposes. Trying to do all three with one big bright fixture is the mistake I made for years.
The three numbers that actually matter, and one that mostly does not
Lumens are total light output, and for task work the number on the box matters less than how close you can get the light to the work. Distance punishes you fast, so a modest lamp on an arm eighteen inches from the board beats a much bigger fixture nine feet up. If you are shopping ceiling lights for a one or two car garage, plan on multiple fixtures rather than one heroic unit, and place them so you are not standing in your own shadow at the bench and the miter saw.
Color temperature is measured in Kelvin. Warm light in the 2700K to 3000K range looks cozy and lies to you about wood tone. Neutral to cool light, roughly 4000K to 5000K, is where I do all layout and machine work because edges read crisply. Above about 5500K it starts feeling like a dentist office and, in my experience, gets fatiguing over a long session. The bigger point: keep your shop reasonably consistent. Mixing a warm ceiling with a cool bench lamp makes finish and stain color impossible to judge.
CRI, the color rendering index, is the spec I ignored longest and now care about most. It describes how faithfully a light source shows color. Cheap fixtures in the low 70s make walnut, cherry and stained pine all drift toward the same muddy brown. Anything advertised at 90 or above is a noticeable step up, and it matters enormously if you are matching a repair, blending a patch, or deciding whether a coat of finish is even. This is the one place I tell people to spend a bit more.
The number that mostly does not matter: wattage. With LEDs it tells you about power draw, not brightness, and comparing a modern fixture to the old fluorescent tube in your head is a dead end.
Articulating LED bench task lamp (clamp mount)
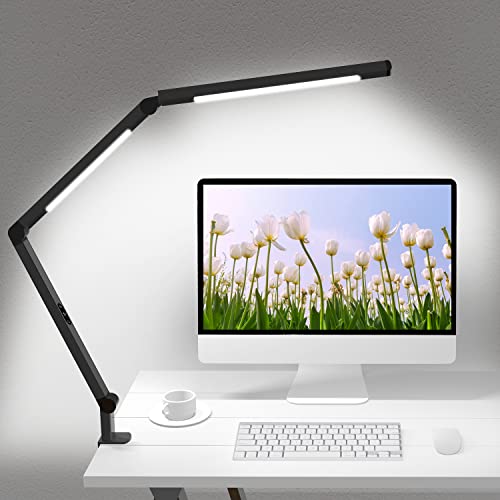
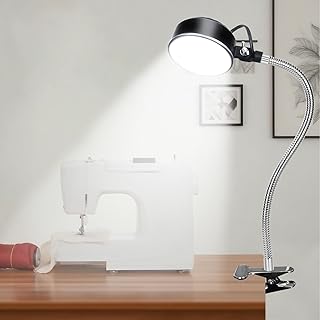
If you buy one thing, buy an arm lamp that clamps to the back edge of your bench. The arm is the whole point: being able to drop the head down to grazing angle over a board is what reveals tearout and sanding scratches. Look for a clamp that actually bites a 2-inch thick top, a head that stays where you put it instead of drooping, and a CRI rating in the 90s. Skip the ones with a tiny plastic clip.
Fixture choices that make sense in a garage shop
Garage constraints are real. Rented space, no budget for an electrician, ceiling joists that are already crowded with a garage door opener, and a car that may need to come back in at night. That shapes what I recommend.
Linkable LED shop lights are the default overhead answer. They plug in, they chain together, and you can hang them from chain or screw them straight to the joists. Two to four across a single bay, running perpendicular to your bench so light comes from both sides of you, gets you most of the way there. If you can put them on a wall switch or a plug-in remote, do it, because reaching for a pull chain with glue on your hands is its own small misery.
Under-shelf strips are the most underrated fix in a small shop. My bench has a shelf above the back edge, and a strip light mounted under the front lip of that shelf eliminated the shadow my own torso used to cast over everything I was doing. Aim it, or add a lip so the diode line is not in your eyes.
Magnetic worklights live on my drill press column and stick to the cast iron on the bandsaw table. Cheap, useful, and they let you see the layout line right where the bit or blade meets it.
Cordless work lights from the platform you already own, whether that is DeWalt XR, Milwaukee FUEL era batteries, Makita LXT or Ryobi ONE+, are worth it purely for assembly and finish inspection. Being able to carry a light inside a cabinet carcase or hold it flat against a tabletop is the whole job. Do not buy into a new battery platform just for a light.
Linkable 4 ft LED shop lights (multi-pack)
Multi-packs are how you get to a genuinely bright shop without rewiring. Buy them in one batch and one color temperature so everything matches, target the 4000K to 5000K range, and check that the pack includes the link cords rather than selling them separately. Frosted lenses spread light more kindly than clear ones with visible diodes.
Glare, shadows, and the mistakes I made
Brighter is not automatically better. My first upgrade was too much cool light aimed straight down from bare-lens fixtures, and the result was glare off every finished surface and a low-grade headache after two hours. Three things fixed it. I raised nothing and instead added a second row so light arrived from two directions and killed hard shadows. I swapped to frosted lens fixtures. And I stopped pointing anything directly at eye level from the far wall.
The other mistake was a dimmable bench lamp I never dimmed. Dimming sounds like a gimmick until you are inspecting a gloss finish, where a lower, raking light shows every ripple that full brightness washes out.
- ✔ Cheapest real accuracy upgrade in a small shop
- ✔ Layered lighting reveals tearout and sanding scratches before finish
- ✔ Most solutions plug in, no electrician needed
- ✔ High-CRI light makes stain and species matching far easier
- ✘ Bright cool light without diffusion causes glare and eye fatigue
- ✘ Mixed color temperatures make finish color judgment unreliable
- ✘ Overhead-only lighting flattens surfaces and hides defects
- ✘ Cheap low-CRI fixtures are a false economy for finish work
Frequently asked questions
What color temperature should I use for a woodworking shop? I stay in the 4000K to 5000K neutral-to-cool range for both overhead and task lights. It reads edges and grain crisply without feeling clinical. The more important rule is consistency: pick one range and use it everywhere, because mixed warm and cool sources make it nearly impossible to judge stain and finish color accurately.
Is CRI really worth paying extra for? For general fill light, not much. For task light at the bench and anywhere you evaluate finish, yes. Low-CRI fixtures flatten the differences between species and make color matching a guessing game. Look for 90 or above on the lights closest to your work, and do not lose sleep over the ceiling panels.
Do I need a dedicated task light if my shop is already bright? Yes, and it is the layer most people skip. Overhead light comes from above and washes surfaces flat. A movable task light lets you skim light across a board at a low angle, which is how you actually see tearout, glue residue, and sanding scratches before they get sealed under a finish.
Start with one clamp-on arm lamp at your bench and see how much you have been missing. That single purchase changed my joinery accuracy more than any chisel I have bought since, and it cost a fraction as much.
Check prices on Amazon →