
Our Top Picks
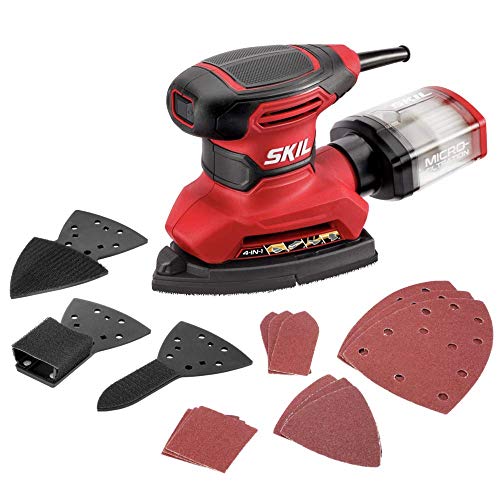 SKIL Corded Multi-Function Detail Sander with Micro-Filter DustOne Size9.84 x 5.7 x 6.69 Inches2.6 PoundsCheck on Amazon


What's inside
As an Amazon Associate I earn from qualifying purchases. This post may contain affiliate links at no extra cost to you.
The first dresser I refinished taught me an expensive lesson. I spent two hours on the flat panels with my random orbit sander, felt pretty good about myself, then looked at the corners of the drawer openings and the little coves on the base molding. My 5-inch pad could not touch any of it. I ended up scrubbing those spots by hand for another three hours, and the finish still came out blotchy where I had sanded unevenly. That job is the reason I now think a detail sander for furniture is not a luxury purchase, it is the tool that finishes the job your big sander started.
The confusing part is that “detail sander” is not one tool. It is a category that includes triangular corner sanders, small-diameter orbital sanders, oscillating spindle attachments, and a handful of odd profile tools that look like they belong in a dentist’s office. They solve different problems, and if you buy the wrong one you will still be sanding chair spindles with a folded piece of 180 grit at midnight. Here is how I sort them out.
As an Amazon Associate we earn from qualifying purchases at no extra cost to you.





| Tool type | Best for on furniture | Real weakness | Rough price band |
|---|---|---|---|
| Triangular detail sander | Inside corners, drawer openings, face frames | Vibrates a lot, small pad clogs fast | Budget to mid |
| Compact 3-inch random orbit | Small flat panels, rails, stiles, blending | Still too big for tight inside corners | Mid |
| Oscillating multi-tool with sanding pad | Corners plus cutting and scraping duty | Aggressive, easy to gouge softwood | Budget to mid |
| Detail sander with profile attachments | Coves, beads, moldings, spindles | Attachments wear out, replacements add up | Mid to high |
| Cordless palm sander (compact) | Assembly-stage touch-ups, on-site work | Battery drain on long sessions | Mid to high |
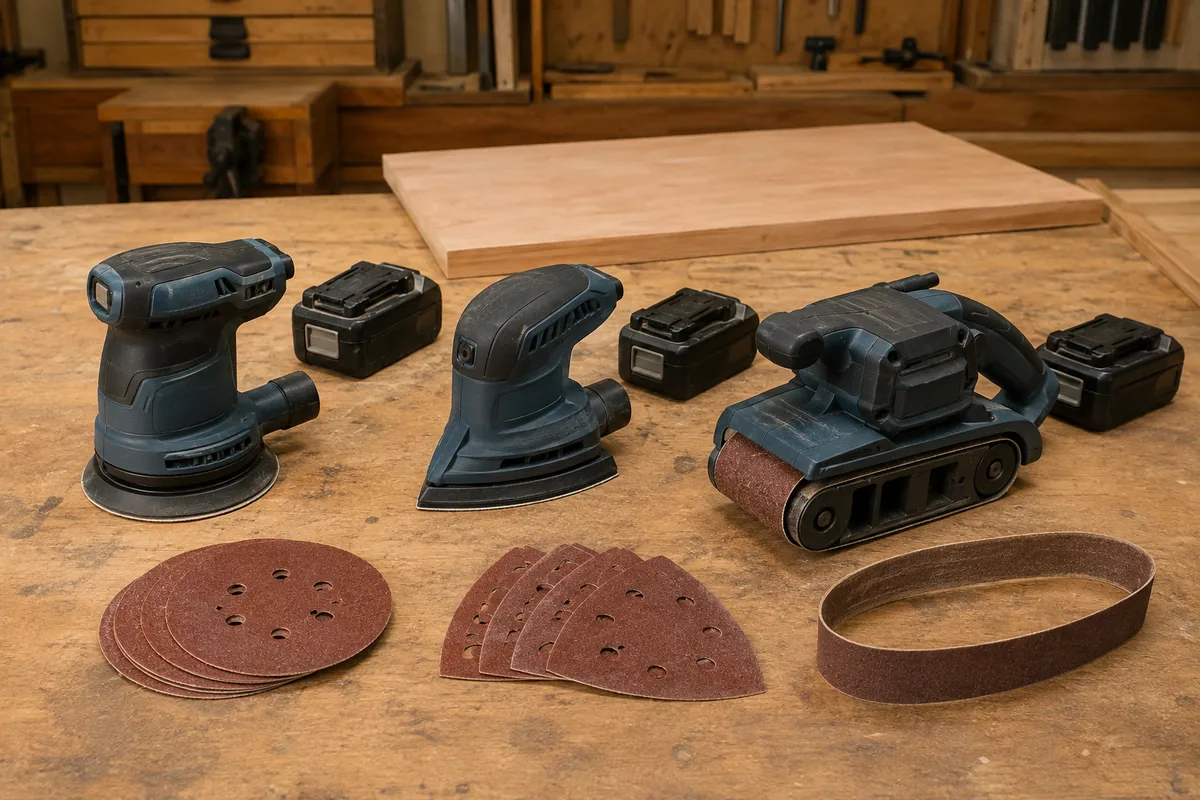
Why a Detail Sander For Furniture Is a Different Purchase Than a General Sander
A random orbit sander is a flattening and leveling tool. It wants a broad, open surface and it rewards you with a swirl-free finish over large areas. A detail sander does the opposite job. It gets into places where the geometry fights you: the inside corner of a mitered frame, the shoulder where an apron meets a leg, the shadow line under a cock beading. In those spots you are not removing much material at all, you are just making the surface consistent so stain or oil does not read differently.
That distinction changes what specs matter. Pad size, dust extraction, and stroke aggressiveness all get reprioritized. A big powerful motor is not the win here. What I care about is whether the tip of the pad holds a crisp point, whether the tool is light enough to control one-handed at an awkward angle, and whether it has enough finesse to feather into an area I already sanded without leaving a dish.
Also worth saying plainly: no detail sander eliminates hand sanding on furniture. It reduces it. If a tool review promises otherwise, I would be skeptical. On a typical case piece I still end up with a sanding sponge and a few folded sheets for the last five percent.
Triangular Detail Sander (Corded)
If you only buy one detail sander and you mostly build or refinish case goods, the classic triangular “mouse” style is the honest first pick. The pointed tip reaches inside corners nothing else will, the paper is cheap and widely stocked, and corded versions cost less than a couple of battery packs. Accept that it buzzes your hand more than a random orbit and that you will burn through tip abrasive quickly, because that point does most of the work.
The Specs That Actually Matter in a Small Shop
Pad shape and tip replaceability. On triangular sanders the tip wears out long before the rest of the pad. Some models let you rotate the abrasive so a fresh corner comes forward, and some let you replace the pad backing itself. That feature saves more money over a year than the price difference between two brands.
Dust collection that works with what you own. This is where I have wasted money. A detail sander with a tiny onboard dust bag is close to useless on furniture, because fine dust settling back on the workpiece is exactly what ruins a finish. I look for a port that will accept a shop vac hose, even if I need a step-down adapter. If you already run a small vac with a HEPA-style filter bag, that pairing beats any built-in bag I have used.
Weight and grip geometry. Furniture sanding means holding the tool sideways, upside down under a tabletop overhang, and at odd angles against a curved leg. A tool that is comfortable pressing down on a bench can be miserable in those positions. Anything much over a couple of pounds starts to fight you.
Variable speed. More useful than people expect. Dropping the speed lets you work veneer and thin edge banding without burning through, and it keeps you from rounding over crisp arrises on a mission-style piece. Cheap single-speed units are always running hot enough to do damage in one careless second.
Cordless or corded. Honest answer for a garage: corded, unless you already own a battery platform. Detail sanding is a long, low-load task, which is the worst case for battery runtime, and you are usually standing at a bench three feet from an outlet. If you are already deep into DeWalt XR, Milwaukee FUEL, or Makita LXT, then a compact cordless sander on that platform is a reasonable convenience buy and nice for on-site touch-up work.
Matching the Tool to the Furniture Part
I think about this by part, not by project. Flat panels and tabletops are random orbit territory, full stop. Rails, stiles, and face frames are fine with either a compact random orbit or a triangular pad, though the random orbit leaves a cleaner surface for stain. Inside corners of frames and drawer openings are triangular-only. Turned legs and spindles want either a profile attachment or a sanding strip pulled around the work while the lathe turns, and honestly the strip often wins.
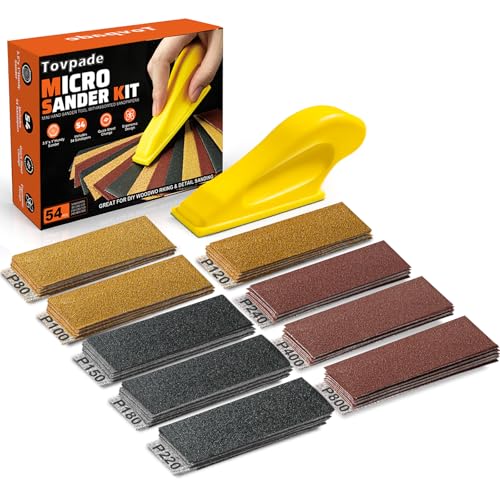
Coves, beads, and molding profiles are the frustrating category. Rigid pads bridge across the profile and only touch the high spots, which is how you flatten a nice bead without meaning to. Foam-backed abrasive that conforms, or a shaped profile attachment that matches the curve, is the real answer. I keep a set of cheap foam sanding blocks in a few radii for exactly this, and they get used more than any powered attachment I own.
Refinishing adds one more wrinkle: old finish gums up abrasive fast. On a piece with existing lacquer or poly, I strip chemically or scrape first, then sand. Trying to power through old finish with a detail sander wastes discs and generates heat that can soften the finish into a sticky mess.
Compact Random Orbit Sander (3-Inch)
This is my most-used sander on furniture, more than the big 5-inch. The small pad gets onto narrow rails, chair aprons, and drawer fronts without teetering off the edge, and because it is random orbit it leaves a genuinely stain-ready surface instead of the faint straight-line scratch a triangular pad can leave. It will not reach inside corners, so treat it as a companion to a triangular sander rather than a replacement.
Trade-Offs I Wish Someone Had Told Me
- ✔ Cuts hand-sanding time on corners and profiles dramatically
- ✔ Corded models are genuinely inexpensive for what they do
- ✔ Small pads let you work narrow parts without rocking off the edge
- ✔ Variable speed protects veneer, edge banding and crisp edges
- ✔ Most brands share cheap, widely available hook-and-loop abrasive
- ✘ Vibration is worse than a full-size random orbit and hands get tired fast
- ✘ Tip abrasive on triangular pads wears out quickly and costs add up
- ✘ Built-in dust bags are close to useless for finish-quality work
- ✘ No detail sander fully eliminates hand sanding on furniture
- ✘ Profile attachment systems lock you into proprietary consumables
The vibration point deserves emphasis. I have had sessions where my hand was buzzing an hour after I put the tool down. Now I take breaks, wear a light anti-vibration glove on long refinishing jobs, and split detail sanding across two sessions rather than pushing through. That is not a product flaw so much as physics, but it is a real constraint on how much you can plan to get done in an evening.
My other honest admission: I bought a profile sanding kit with a dozen shaped attachments and I have used maybe three of them. The shapes rarely match the profile in front of you exactly, and a mismatched shape does more harm than a conforming foam pad. If you are choosing between a kit like that and simply buying a good corded triangular sander plus a shop vac adapter and a box of assorted abrasive, take the second option.
Frequently Asked Questions
Can I just use a detail sander for the whole furniture project? You can, but it will take much longer and the flat surfaces are likely to end up slightly uneven. Small pads follow every dip instead of leveling across them. Use a 5-inch random orbit for panels and tops, then bring in the detail sander for corners, profiles, and anywhere the big pad cannot sit flat.
What grit sequence should I use with a detail sander on furniture? For new hardwood I typically start around 120, move to 150, then finish at 180 before an oil or water-based finish, and go one step finer if I am using a wiping stain that shows scratches. Skipping grits is tempting on small areas but it leaves scratches the finish will highlight. On veneer or thin edge banding I start finer, around 180, and run the tool at lower speed.
Is a multi-tool with a sanding pad good enough instead of a dedicated detail sander? It works for rough corner cleanup and it is a great value if you already own the multi-tool for cutting and scraping. For finish-quality furniture work I find it too aggressive and harder to control, especially on softwoods where it can dig in quickly. If your budget only allows one purchase and you already have the multi-tool, buy abrasive for it first and see whether the results satisfy you before spending more.
What I Would Buy Today
If I were rebuilding my sanding setup from nothing with furniture as the main job, I would buy a corded triangular detail sander, a compact 3-inch random orbit, a shop vac adapter so both can hook to dust extraction, and an assortment of foam sanding blocks for profiles. That whole set costs less than one premium cordless kit and it will handle nearly everything a garage furniture builder runs into. Skip the multi-attachment profile kits until you hit a specific molding you cannot handle any other way.
Prices and availability move around constantly, so check current listings rather than trusting any number you read in an article, including mine.
Check prices on Amazon →