
Our Top Picks


What's inside
As an Amazon Associate I earn from qualifying purchases. This post may contain affiliate links at no extra cost to you.
My first shop light was one bare bulb in a ceramic socket, dead center in a one-car garage. I cut dovetails in my own shadow for two years before I worked out that the problem was not my eyes. Most workbench lighting ideas you read online start with a lumen number and stop there, and total brightness is the least interesting part of the equation. What matters is where the light comes from relative to your hands, your body, and the face of the board.
Shadow is one enemy. Glare is the other, and it turns up the moment you plane a surface smooth enough to bounce a ceiling fixture into your eyes. I have redone my garage lighting three times, and the current version is not the brightest I have owned. It is just the one where I can read a pencil line on cherry without blocking the light with my own head.
As an Amazon Associate we earn from qualifying purchases at no extra cost to you.


| Fixture Type | Best For | Main Trade-off |
|---|---|---|
| Linkable 4 ft LED shop lights | Overhead fill across the whole shop | Mounting time and ceiling clearance |
| Under-shelf LED light bar | Killing the shadow cast by a wall cabinet | Needs a shelf to mount under |
| Clamp-on articulating task lamp | Layout lines, chisel work, sharpening | Eats bench real estate |
| Rechargeable magnetic work light | Inside casework and dark corners | Battery life, and remembering to charge it |
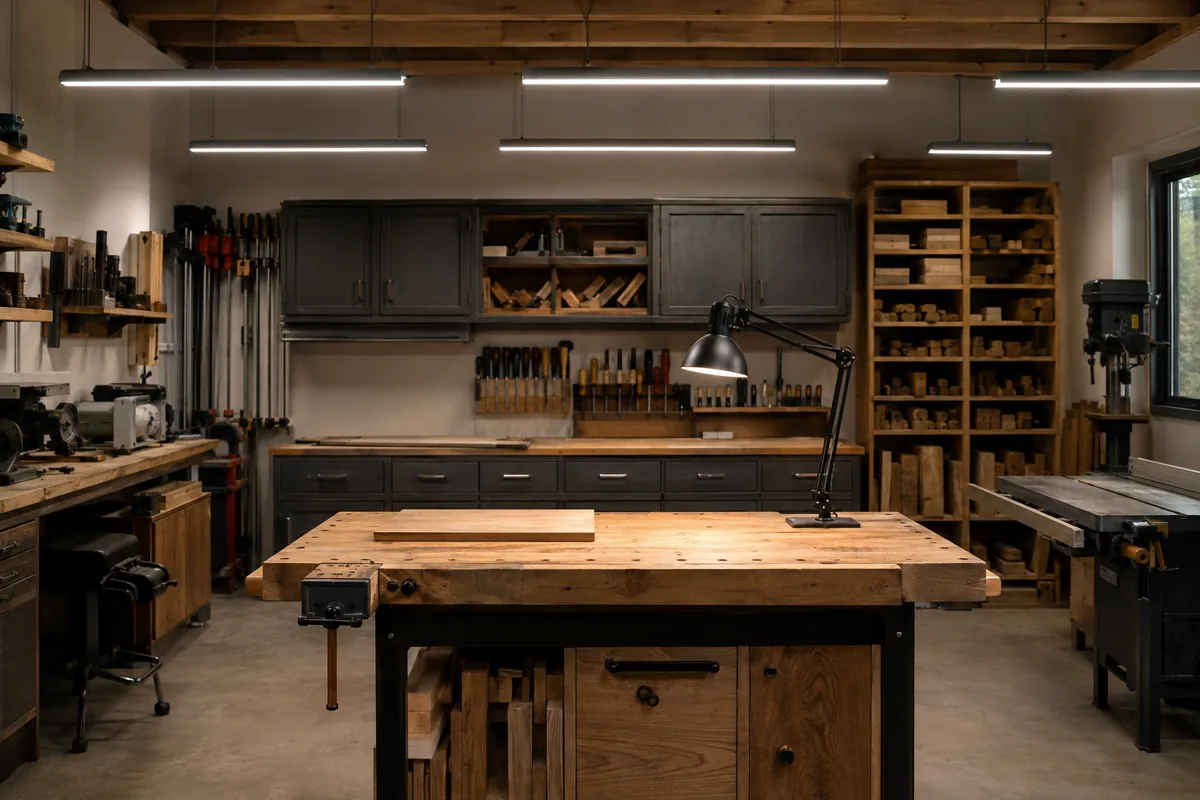
Why Your Garage Bench Is Still Dark
A garage eats light. Bare studs or OSB, a gray concrete floor, and a general film of dust all absorb it instead of bouncing it back. I bought a third shop light before I ever thought about paint, which was the wrong order. Two coats of white on the wall behind the bench did more for visibility than that fixture did, and it cost less.
The bigger issue is geometry. If your only fixture sits behind you, your torso becomes the lampshade. A light directly above your head drops your hands into shadow at exactly the moment you are paring to a line. The fix is not more lumens, it is more directions. Two moderate fixtures set so the light arrives from the front left and the front right will beat one bright fixture parked straight overhead.
Workbench Lighting Ideas That Fixed My Shop
Here is the stack I ended up with, in the order I would install it in an empty garage.
Overhead fill in a row, not a spotlight. Linkable 4 ft LED fixtures running the length of the shop, and over the bench a pair that straddles it rather than one down the centerline. Two angles beat one.
An under-shelf bar at the back of the bench. Cheapest big win on this list. Any cabinet or tool shelf above your bench is already casting a shadow onto your work. A slim LED bar under its front lip, aimed forward and down, erases it.
One articulating task lamp. Clamped to the bench or a stud, with enough arm to reach out over the work. Dropping it low and raking the light across a surface at a shallow angle is how you see tearout, glue squeeze-out and sanding scratches before the finish shows them to you.
A rechargeable magnetic light. For the inside of casework, the back of a cabinet, and whatever just rolled under the table saw.
Linkable 4 ft LED Shop Lights
Buy these in multiples instead of hunting for one hero fixture. Look for a stated CRI, a listed operating temperature range if your garage is unheated, and linking cables included so one switch runs the whole row.
Color Temperature and CRI Beat Raw Lumens
Two numbers on the box are worth reading. Color temperature comes first. Around 4000K reads as clean neutral white, while 5000K is cooler and more clinical. I run 4000K at the bench and I am happier for it. Whatever you pick, stay with it, because mixing color temperatures in one room looks like a mistake. That was my second lighting error: I filled gaps with whatever was on the shelf and ended up with a green-white patch over the miter saw.
The second number is CRI. Budget fixtures sit near 80. At 90 or above, color reads far more honestly, which matters the day you are matching stain or telling walnut heartwood from sapwood under artificial light. Cheap drivers also flicker, which adds up to eye strain over a long session, so this is where I stop bargain hunting.
Clamp-On Articulating Task Lamp
The clamp and the arm matter more than the bulb. You want enough reach to get the head out over the work, and joints stiff enough to hold position after a year of being shoved around.
Mounting and Power Without Calling an Electrician
Most garage shops share the same limits: two outlets, a ceiling that also holds a garage door track, and someone who would rather you not open up the drywall. Plug-in linkable fixtures handle nearly all of that. You chain several off one cord, land them on one switch, and never touch a wire nut.
Things I learned the hard way. Check clearance for the door panel and the opener arm before you commit to a mounting line. Hang fixtures on their chains if the ceiling allows, since 8 to 12 inches of drop spreads the light. Keep lights off the circuit feeding your table saw or dust collector so the shop does not pulse on every rip cut.
- ✔ One plug and one switch for a whole row
- ✔ LEDs run cool enough to mount close to the work
- ✔ Instant on, with no fluorescent warm-up in a cold shop
- ✔ Cheap enough to overlap coverage instead of chasing one perfect fixture
- ✘ Overhead-only layouts still leave your hands in shadow
- ✘ Bargain fixtures often skip the CRI rating entirely
- ✘ Mixed color temperatures make a shop look grubby
- ✘ Chain mounting eats headroom you may not have
Rechargeable Magnetic Work Light
Get one with a real magnet and a hook. Mine lives inside cabinets during assembly. If you already run a cordless platform such as DeWalt XR, Milwaukee FUEL or Makita LXT, a light on that battery saves you another charger.
Workbench Lighting FAQ
How much light do I actually need over a workbench? General shop space feels comfortable around 50 lumens per square foot, and a detail area wants closer to 75 or more. I would skip the math, install overhead fill, then stand at the bench and add task light wherever your body still throws a shadow.
Is 4000K or 5000K better in a woodworking shop? Both work. 5000K reads sharper and suits machine areas, while 4000K is easier to spend a whole Saturday under and shows wood tones more naturally. Consistency matters more than the number, so pick one and buy the same thing when you expand.
Do I need high CRI if I mostly paint what I build? Less than a stain and oil person does, but I would still spend up over the finishing bench. You are judging sheen, coverage and sanding scratches, and honest color catches those in the shop instead of in the living room.
If you do one thing this weekend, put light where your body is not. Offset a second fixture to the side, or clamp a task lamp to the bench and rake it across the surface. Paint the wall behind the bench white before you buy anything else, then layer the rest in over time.
Check prices on Amazon →