
Our Top Picks


What's inside
As an Amazon Associate I earn from qualifying purchases. This post may contain affiliate links at no extra cost to you.
My first year in the garage produced two usable pieces of furniture and a truly impressive pile of firewood. Most of the beginner woodworking mistakes I made were not exotic. They were boring, repeatable errors that cost me lumber, weekends, and a fair bit of money I could have spent on better tools. I want to lay them out plainly, because almost every guide I read that first year told me what was textbook correct instead of what actually happens when you have half a two-car garage, a shared wall with a neighbor, and no jointer.
To be clear about what this is: I am one guy with a garage shop, not a testing lab. I have not run numbered models through a bench protocol, and I will not pretend otherwise. What follows is what I do now, why I changed, and where I still cut corners on purpose.
As an Amazon Associate we earn from qualifying purchases at no extra cost to you.


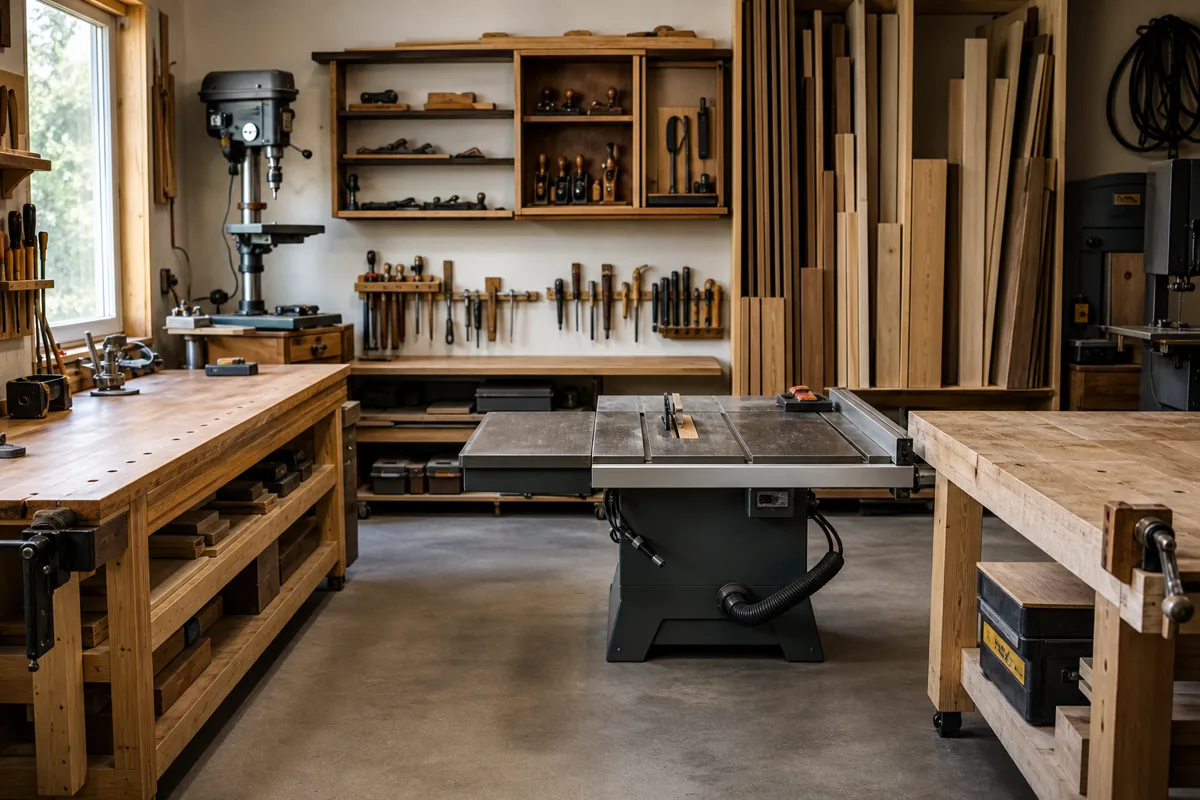
The Five Beginner Woodworking Mistakes That Cost Me the Most
If I could send a note back to myself in month one, it would be this table. Not the tool list, the priorities.
| Mistake | What It Cost Me | What I Do Now |
|---|---|---|
| Buying the widest tool selection first | Money that should have gone to one good saw | One quality tool per operation, bought when the project demands it |
| Ignoring wood movement | A tabletop that cupped in six weeks | Let boards acclimate in the garage a week, build with movement in mind |
| Chasing dead-flat stock with no jointer | Hours of hand planing and a lot of frustration | Buy S4S or use a planer sled and accept slight imperfection |
| Skipping dust collection | Fine dust everywhere, sinus misery, a shop I avoided | Shop vac with a cyclone separator plus a respirator for sanding |
| Measuring instead of referencing | Cumulative error and gaps in every joint | Story sticks, stop blocks, and cutting parts in matched batches |
The last one on that list is the sleeper. For months I measured every part with a tape measure and wondered why nothing lined up. A sixteenth of an inch of misread tape, four times over, is a quarter inch of gap. Once I started cutting all matching parts against the same stop block without measuring each one, my joinery improved more than it did from any tool purchase.
I Bought Tools in the Wrong Order
My first big spend was a cheap combination package deal because it looked like a lot of value per dollar. What I actually needed was one saw that cut accurately and a way to make a straight edge. Instead I got four tools that each did their job about seventy percent well, which in woodworking is the same as not at all, because errors compound.
The order that would have served me better in a small garage: a circular saw with a track or a shop-made straightedge guide, a drill/driver, a random orbit sander, then a router. A table saw is wonderful and I own one now, but in a shared garage where the car still parks at night, a good circular saw and a straightedge will break down sheet goods with less noise, less footprint, and far less money. The cordless platforms make this easy in a way it was not fifteen years ago. Pick one battery line, whether that is DeWalt XR, Milwaukee FUEL, Makita LXT, or Ryobi ONE+ on a tighter budget, and stay in it. Mixed batteries were another quiet mistake of mine; I ended up with three chargers and no spare battery for the tool I actually used.
Cordless Circular Saw and Track Guide
If you only buy one thing this year, make it a saw that cuts a genuinely straight line. A quality circular saw paired with a track or clamp-on straightedge will break down plywood more accurately than a wobbly benchtop table saw, and it stores on a shelf instead of eating floor space. Expect to pay more for the brushless versions, and buy the bare tool if you already own batteries.
The No-Jointer Problem, and How I Stopped Fighting It
Nearly every tutorial assumes a jointer and a planer. I have neither the space nor the noise budget for a jointer, and this held me back for months because I kept trying to build projects that required perfectly flat, square stock.
Three things fixed it. First, I stopped buying rough lumber for a while and paid the premium for S4S boards, which are surfaced on all four sides. Yes, it costs more per board foot. It also meant I finished projects instead of abandoning them. Second, I learned to flatten one face with a hand plane just enough to register against a fence, not to a perfect surface. Perfect is not required. Flat enough to reference is. Third, I built a simple planer sled from plywood and shims, which lets a benchtop planer act as a rough jointer for face flattening.
What I still get wrong: I buy boards that are too long for my shop because they look like a better deal. Then I cannot maneuver them, so I crosscut them in the driveway with a circular saw and lose the good grain match I was paying for. Buy the length you can actually handle indoors.
- ✔ S4S lumber lets you build immediately with no jointer
- ✔ A single sharp hand plane covers most flattening needs in small projects
- ✔ Plywood and dimensional pine are forgiving while your skills catch up
- ✘ S4S costs noticeably more per board foot
- ✘ Home center stock is often wet, twisted, or both
- ✘ Hand flattening wide panels is slow and genuinely tiring
Dust, Noise, and Finishing: The Parts Nobody Warned Me About
I treated dust as a cleanup problem for most of year one. It is a health problem. Fine dust from sanding is what hangs in the air for hours, and a broom makes it worse by putting it back into the air. The change that mattered most was cheap: a shop vac connected to my sander, a cyclone separator so the filter stops clogging, and a proper fitted respirator for anything involving sanding or MDF. A dust mask from the paint aisle is not the same thing.
Noise was the other surprise. My garage shares a wall with a neighbor’s bedroom, so a router at nine at night was not going to happen. I now do loud operations in one batch on weekend afternoons and save hand tool work, glue-ups, and finishing for evenings. That single scheduling change probably doubled how much I actually got done, because I stopped waiting for a perfect four-hour block.
Finishing deserves its own confession. I rushed finish on my first three projects and every one of them showed it. Blotchy stain on pine, dust nibs in polyurethane, and a tacky surface because I recoated too soon in a cold garage. Now I wipe on thin coats, sand lightly between them, and check the temperature range on the can before I open it. Cold garages are the enemy of an even film.
Shop Vac Dust Collection Kit
A cyclone separator between your shop vac and the tool keeps the filter from clogging and turns a shop vac into a workable small-shop dust solution. Check the hose diameter against the ports on your sander and saw before you order, since mismatched fittings are the usual complaint. Add a fitted respirator, not a paper mask.
The Habits That Actually Moved Me Forward
Skills improved when my process changed, not when my tool list grew. Four habits did most of the work.
I started building a full-size mockup out of cheap pine or scrap plywood before cutting good hardwood. It feels wasteful. It is far cheaper than ruining a walnut panel. I started marking with a knife instead of a pencil for joinery, because a pencil line has width and a knife line does not. I began every session by sharpening one thing, which meant my chisels were never all dull at once. And I wrote down what went wrong at the end of each project in a cheap notebook, which is how I noticed that half my failures traced back to glue-ups rushed at the end of the day.
I also stopped starting with tables. A table is four legs that must be identical, joined square, supporting a top that will move seasonally. It is a hard project disguised as a simple one. Boxes, shelves, and a workbench taught me more and forgave more.
FAQ: Common Questions From My First Year
What is the single most expensive beginner mistake? Buying breadth instead of quality. Four mediocre tools cost more than one good one and produce work you will want to redo. Buy the tool the current project requires, and buy it once.
Can I really build furniture without a table saw? Yes. A circular saw with a track or straightedge, a drill, and a router will build cabinets, shelves, and simple case pieces. A table saw makes repeat rips faster and more accurate, but it is a convenience upgrade, not an entry requirement, especially in a garage where floor space is the scarcest resource.
How long until my joints stop having gaps? For me, roughly six months, and it came from referencing off stop blocks and story sticks rather than measuring each part. Gaps are usually accumulated measurement error, not bad chisel work. Fix the process before you buy sharper tools.
None of this makes the first year painless. It does mean your mistakes will be new ones instead of the same five I made on repeat. Start with the saw, get the dust under control, and build something forgiving before you build something square.
Check prices on Amazon →